Workshop detail header
Original field notes

Mechanical Bitcoin movement,

The Bitcoin Watchmaker publishes original build logs, machining experiments, movement-design notes, and technical lessons from developing a mechanical watch inspired by Bitcoin.

This archive is the primary record: direct observations from the workshop, long-form write-ups, and ongoing research into horology, CNC, tooling, and Bitcoin-native complications.

Page 6 of 10. Showing 10 of 96 posts.

2025/01/17 16:16 UTC
TLDRI’ve been deep into learning the art of milling and machining, a world where software meets real-world precision. But today, I’m taking a creative detour to work on the intricate winding mechanism of a watch, which is a refreshing shift from the technical grind. It’s all a work in progress, but there’s something incredibly satisfying about designing and crafting these components. 😊
Show more Show less

Learning, Precision, and a Break for Creativity

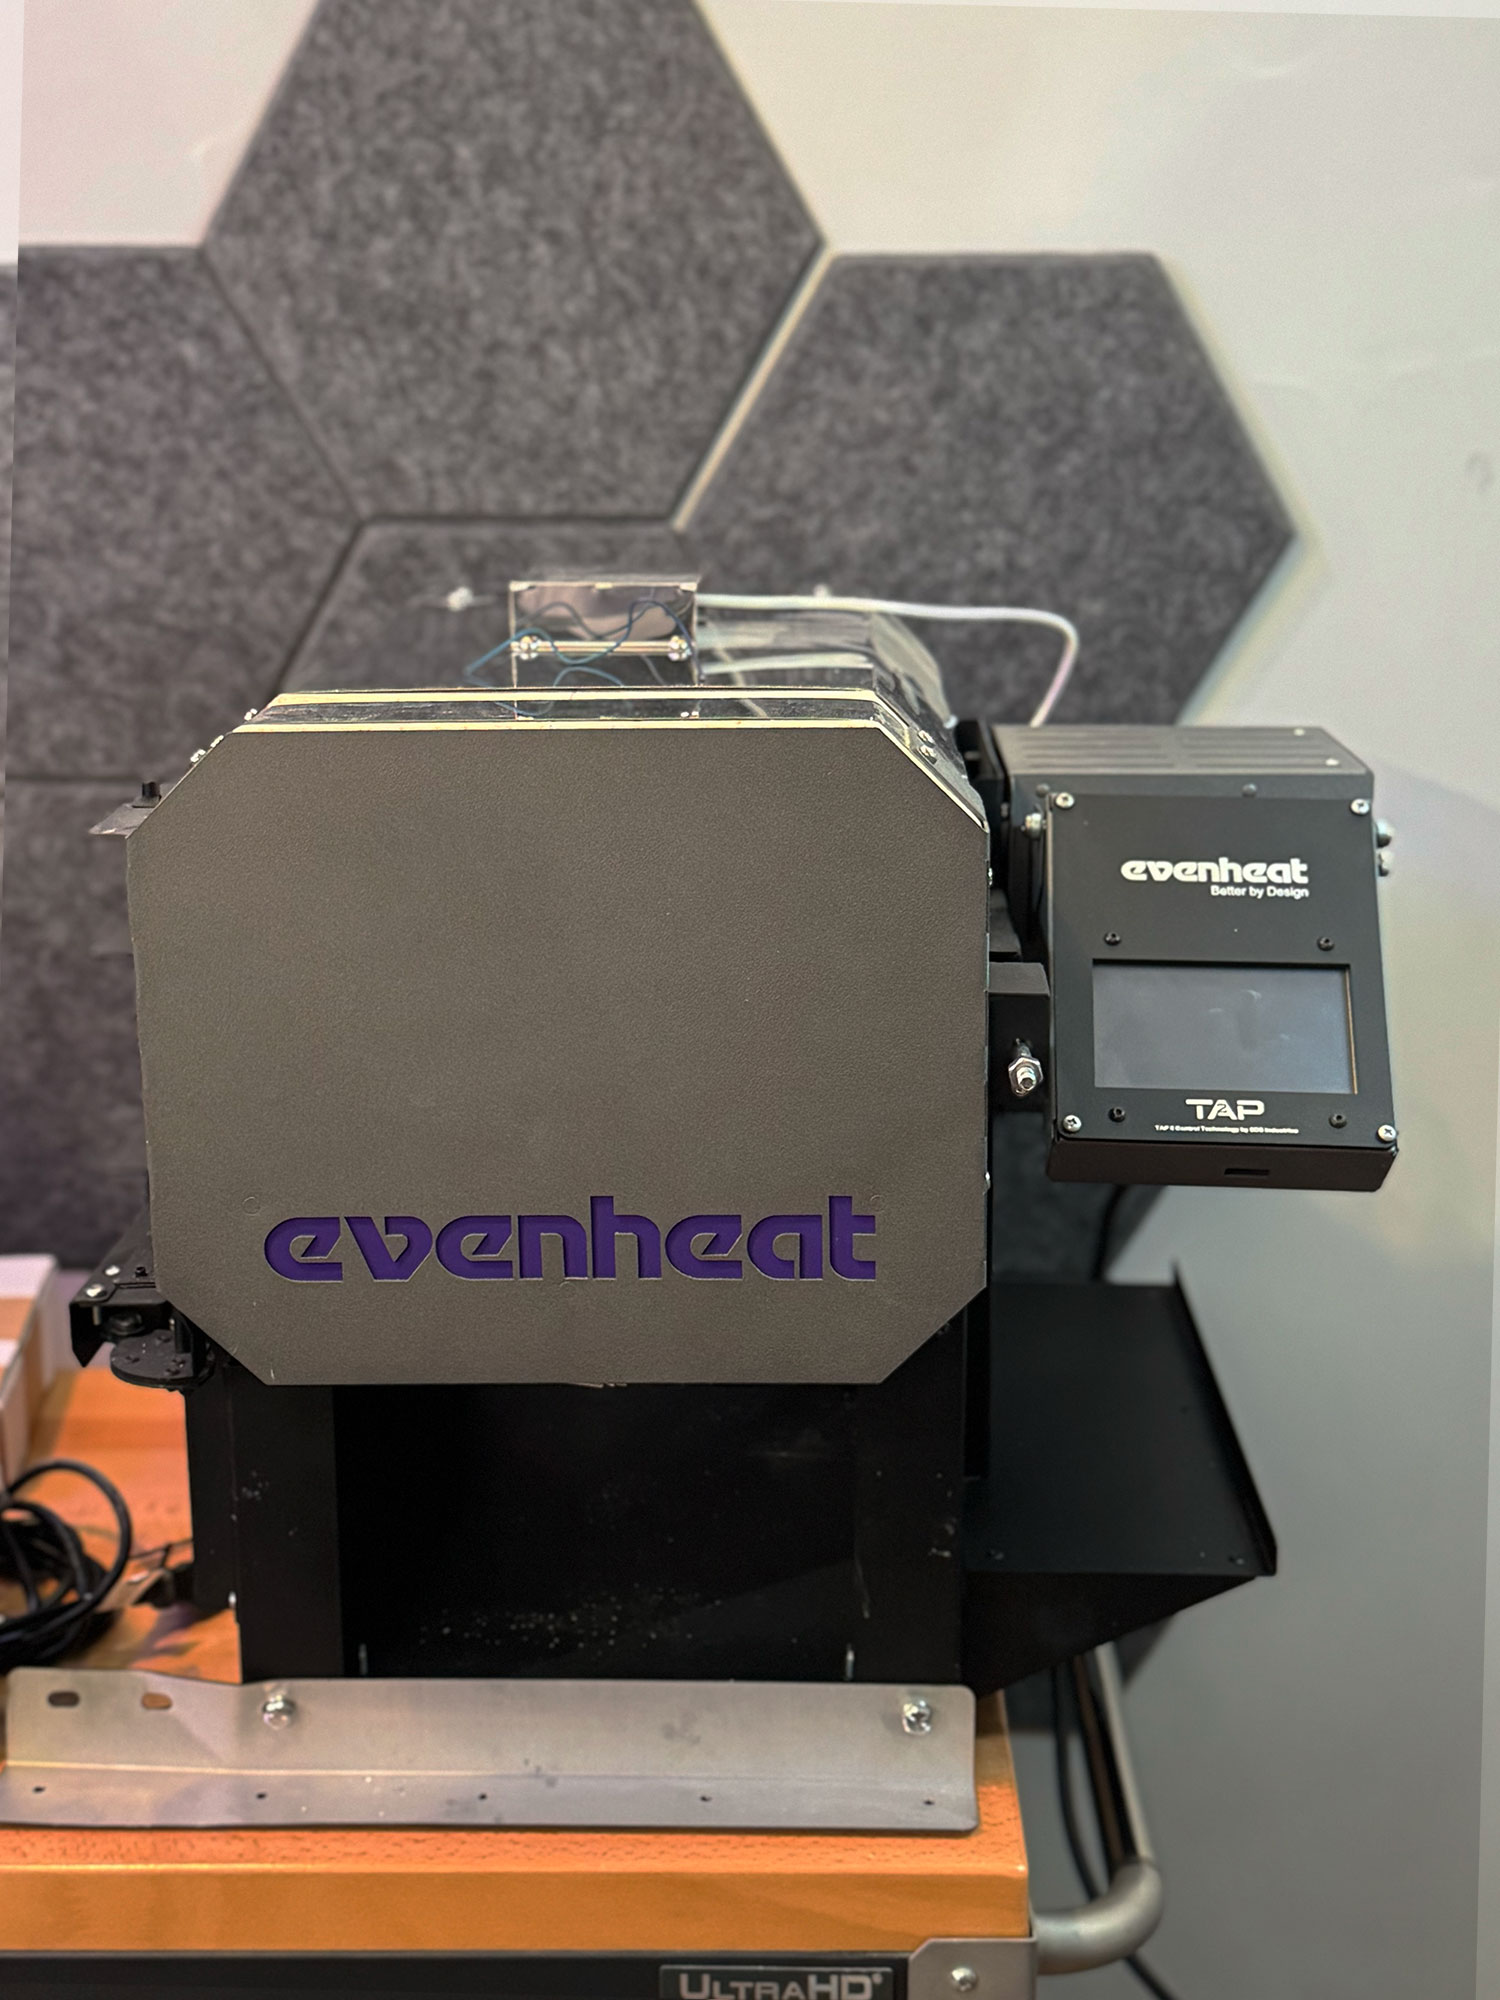
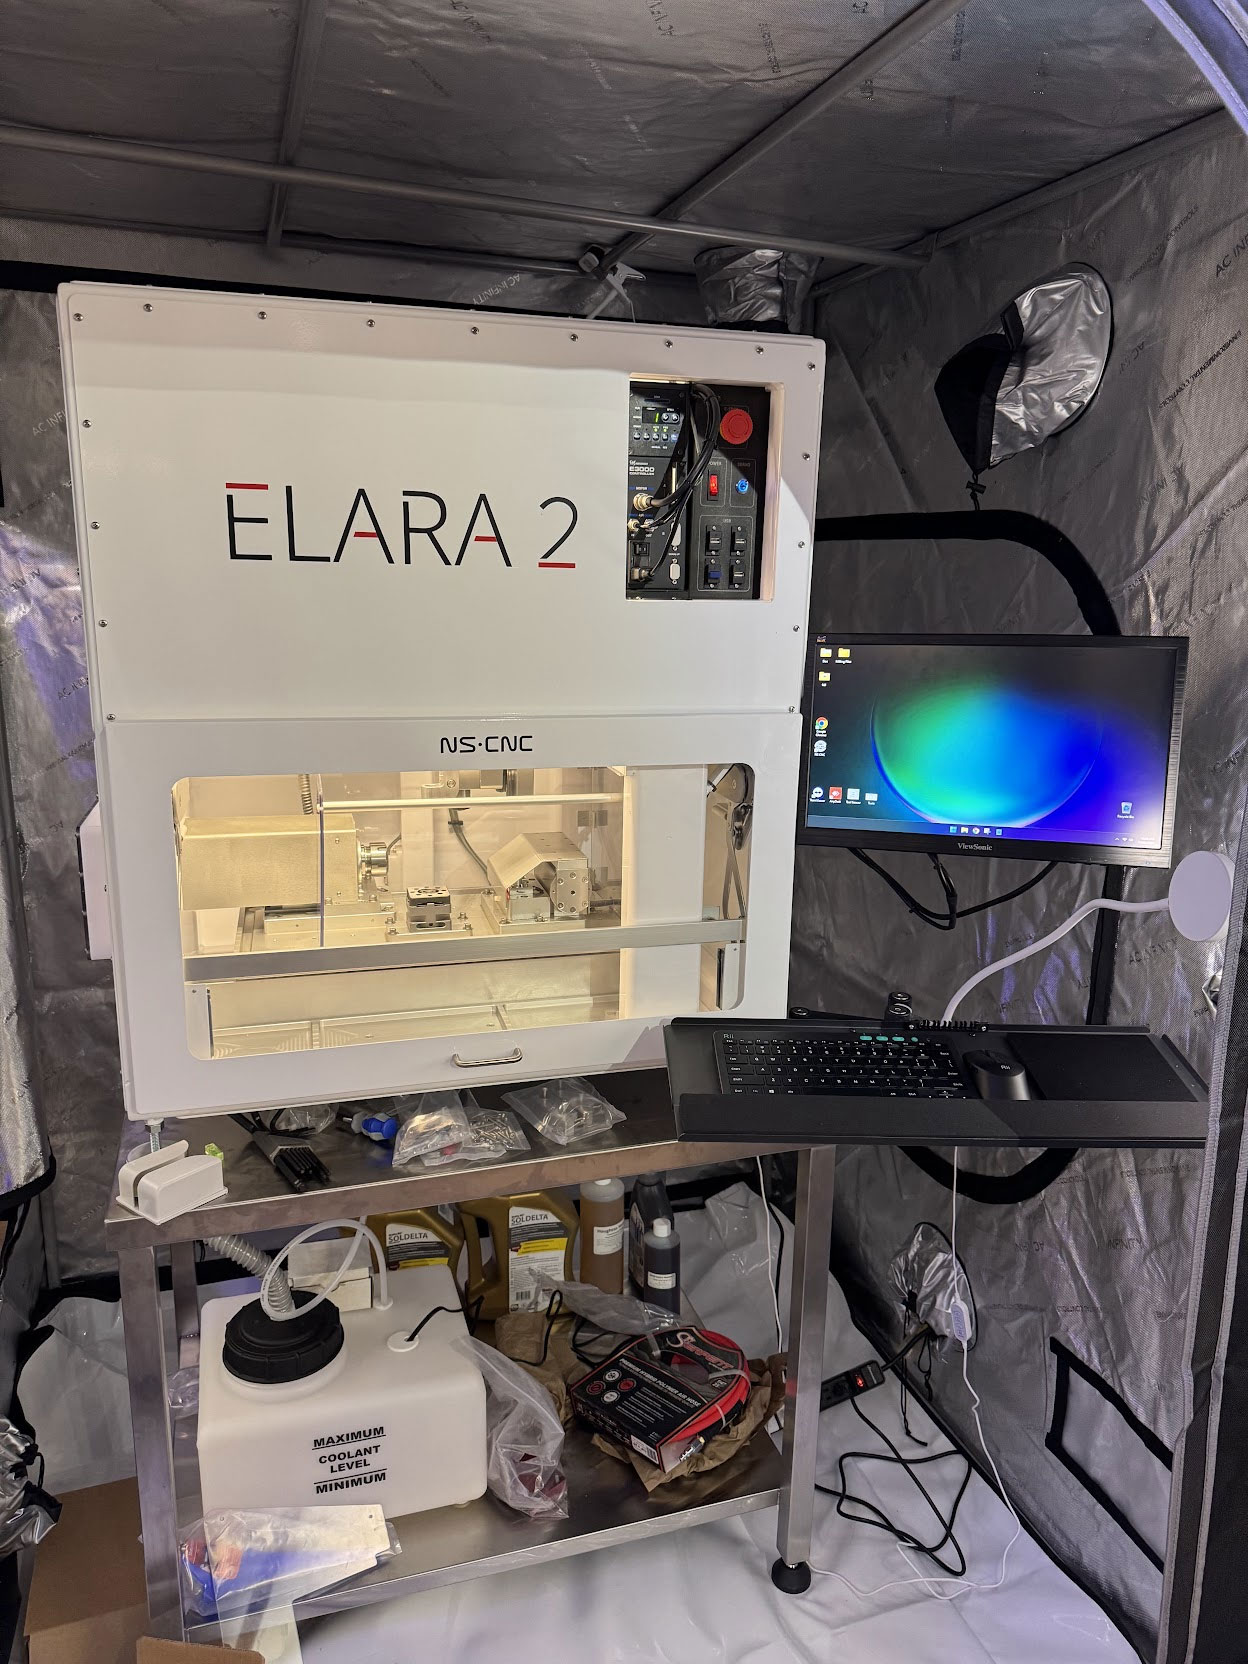
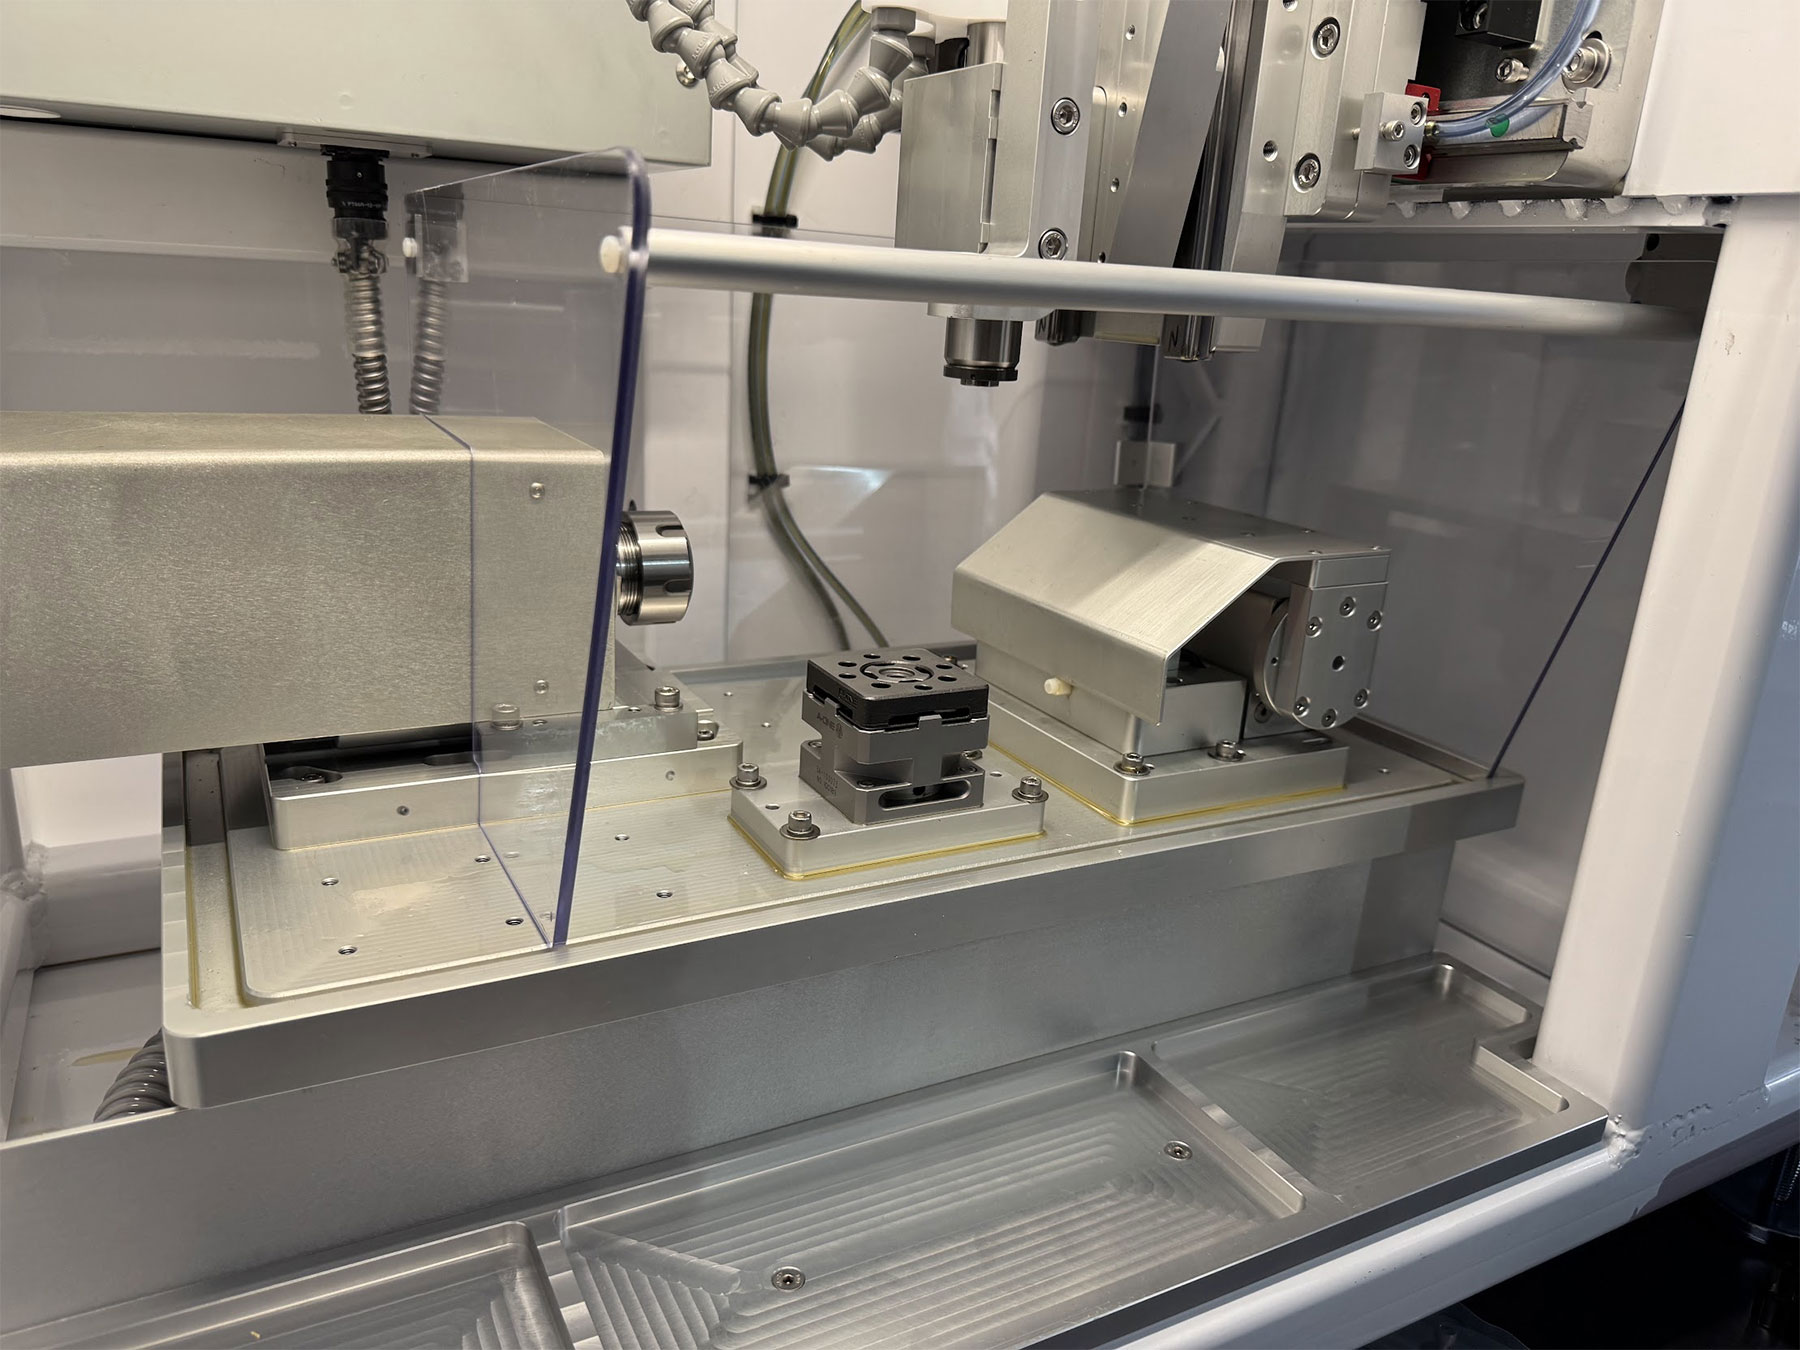
It’s been a busy time recently as I’ve been diving into the world of milling and machining parts—something totally new to me! The process of learning about micro-precision and bridging the gap between software designs and real-world results has been both challenging and fascinating. Every step feels like uncovering a new layer of possibilities. 😊

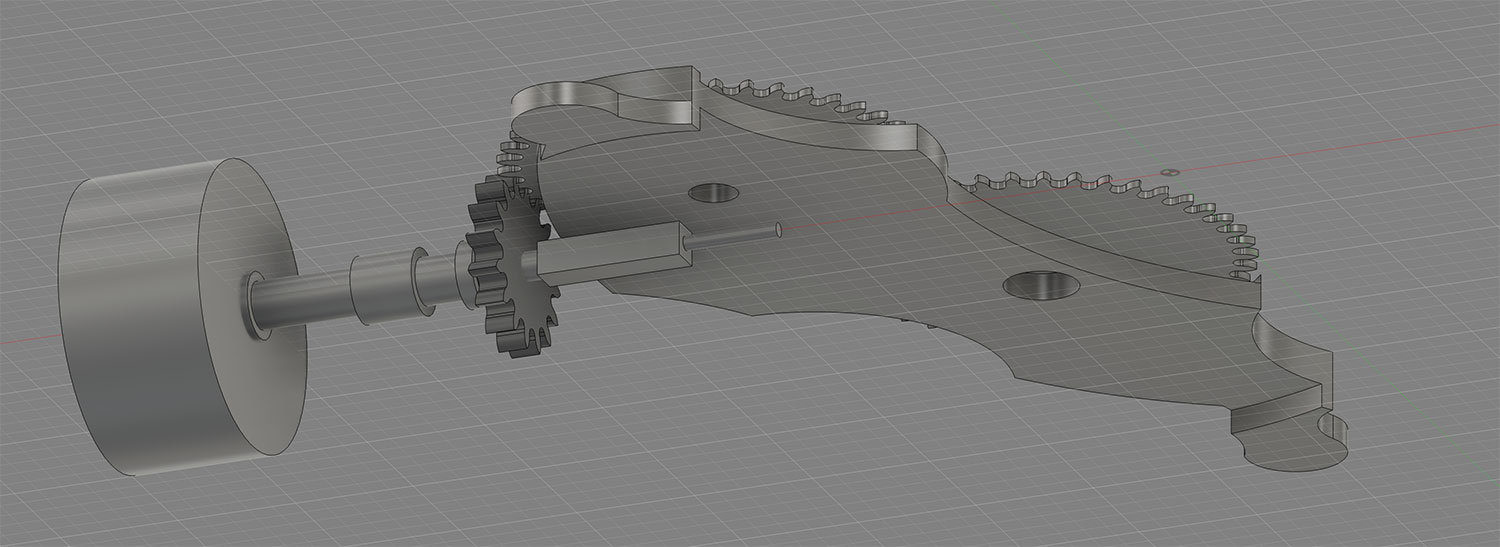
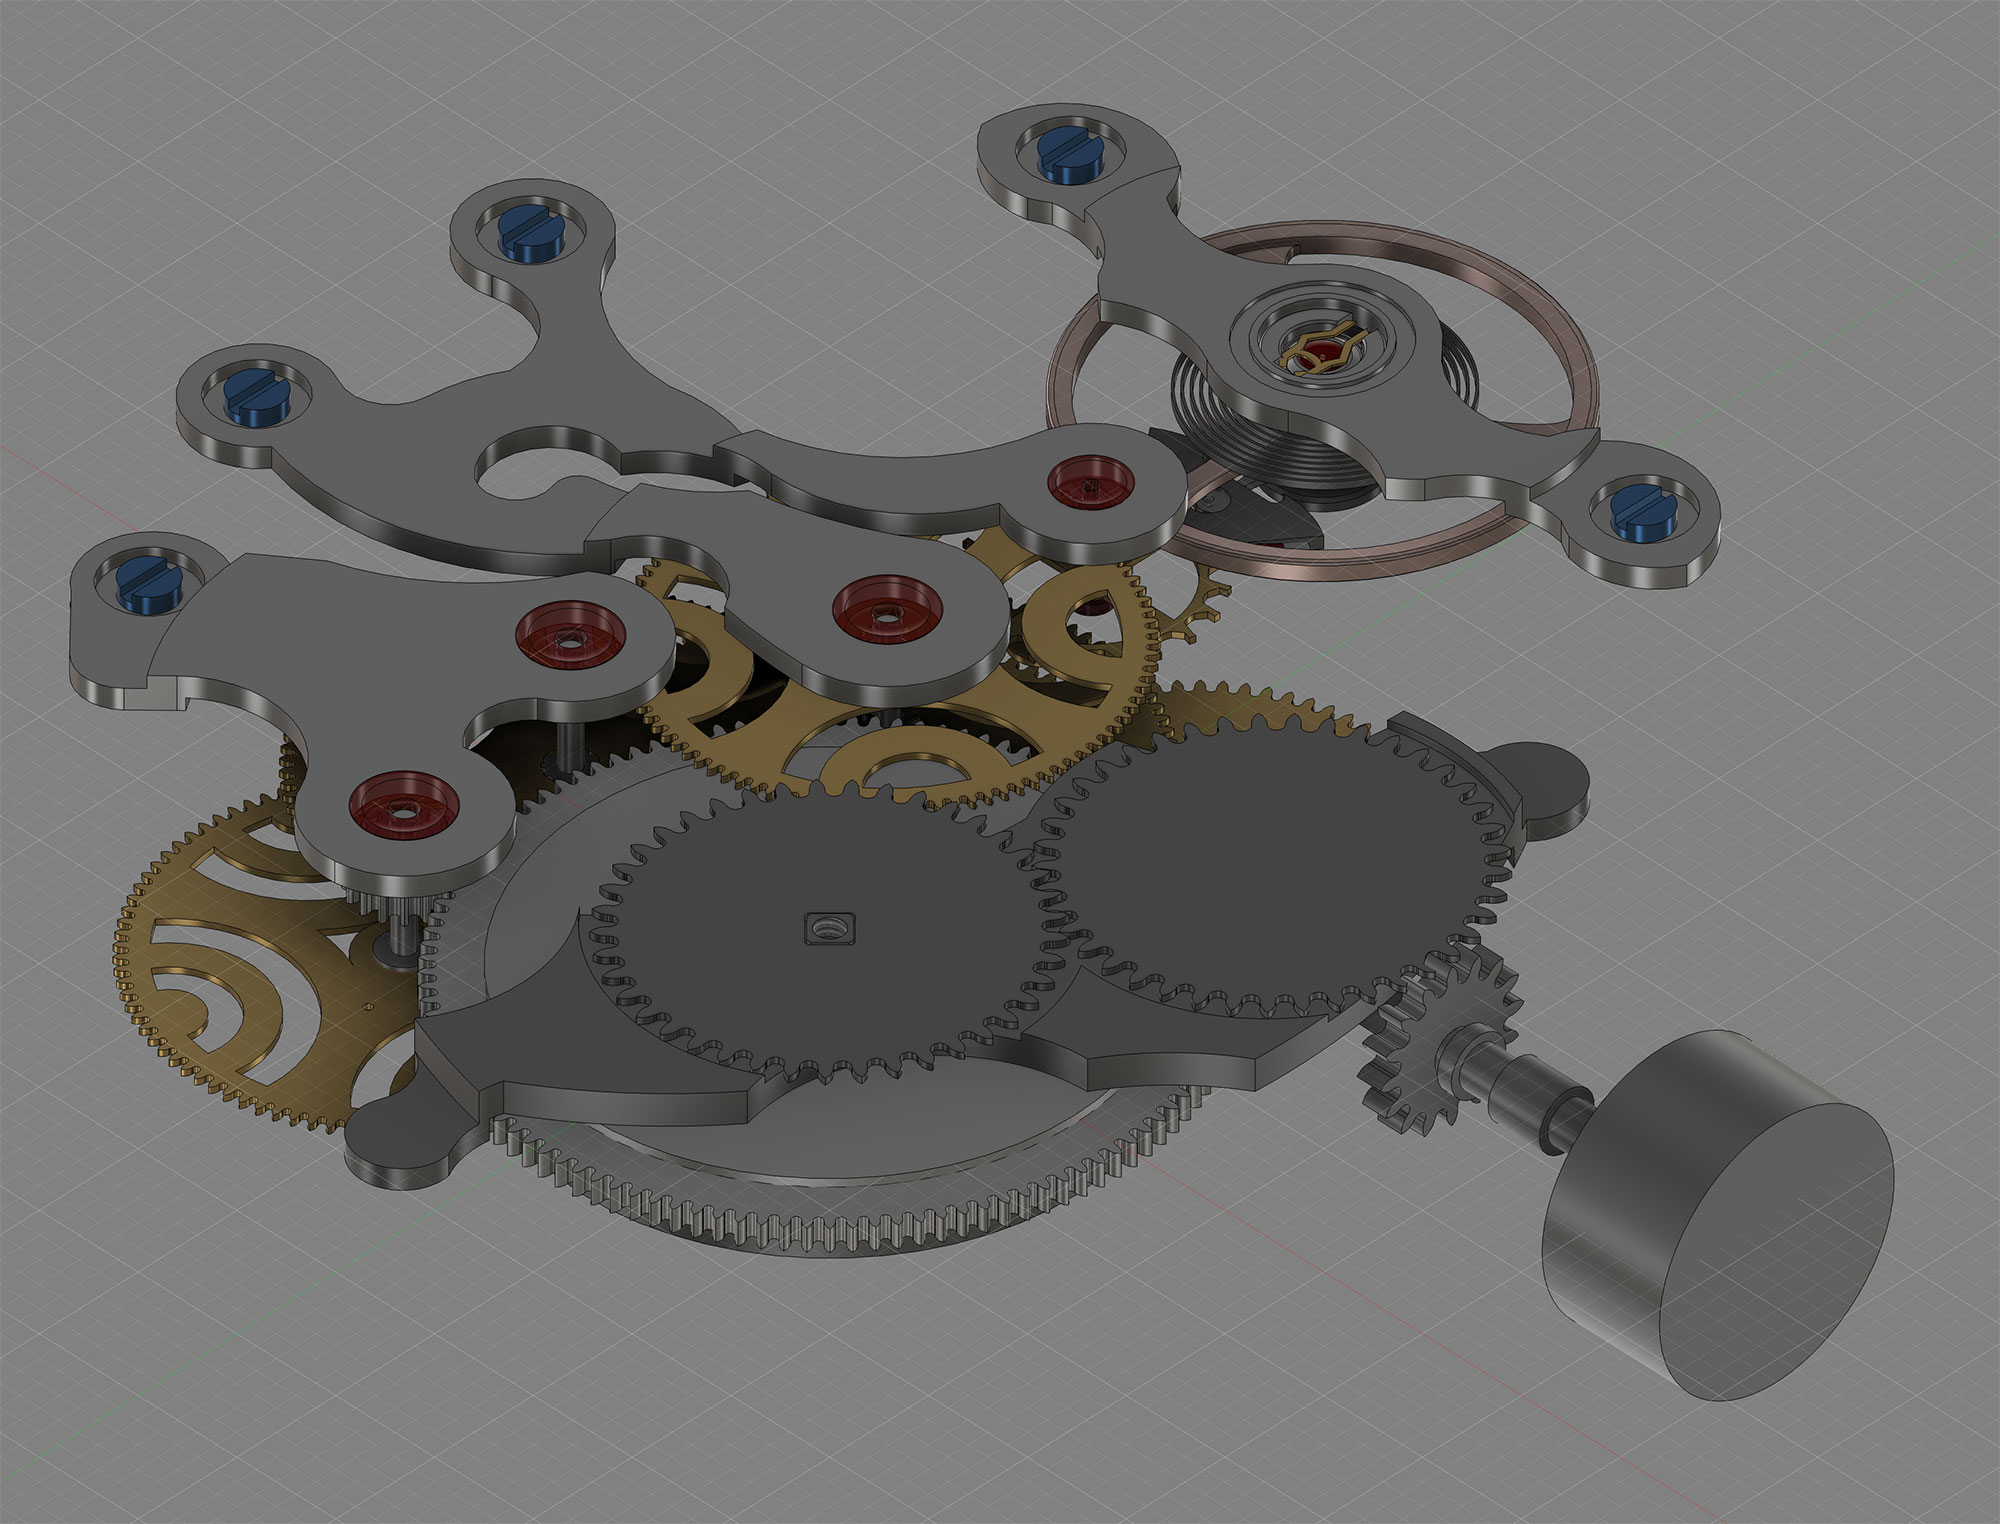
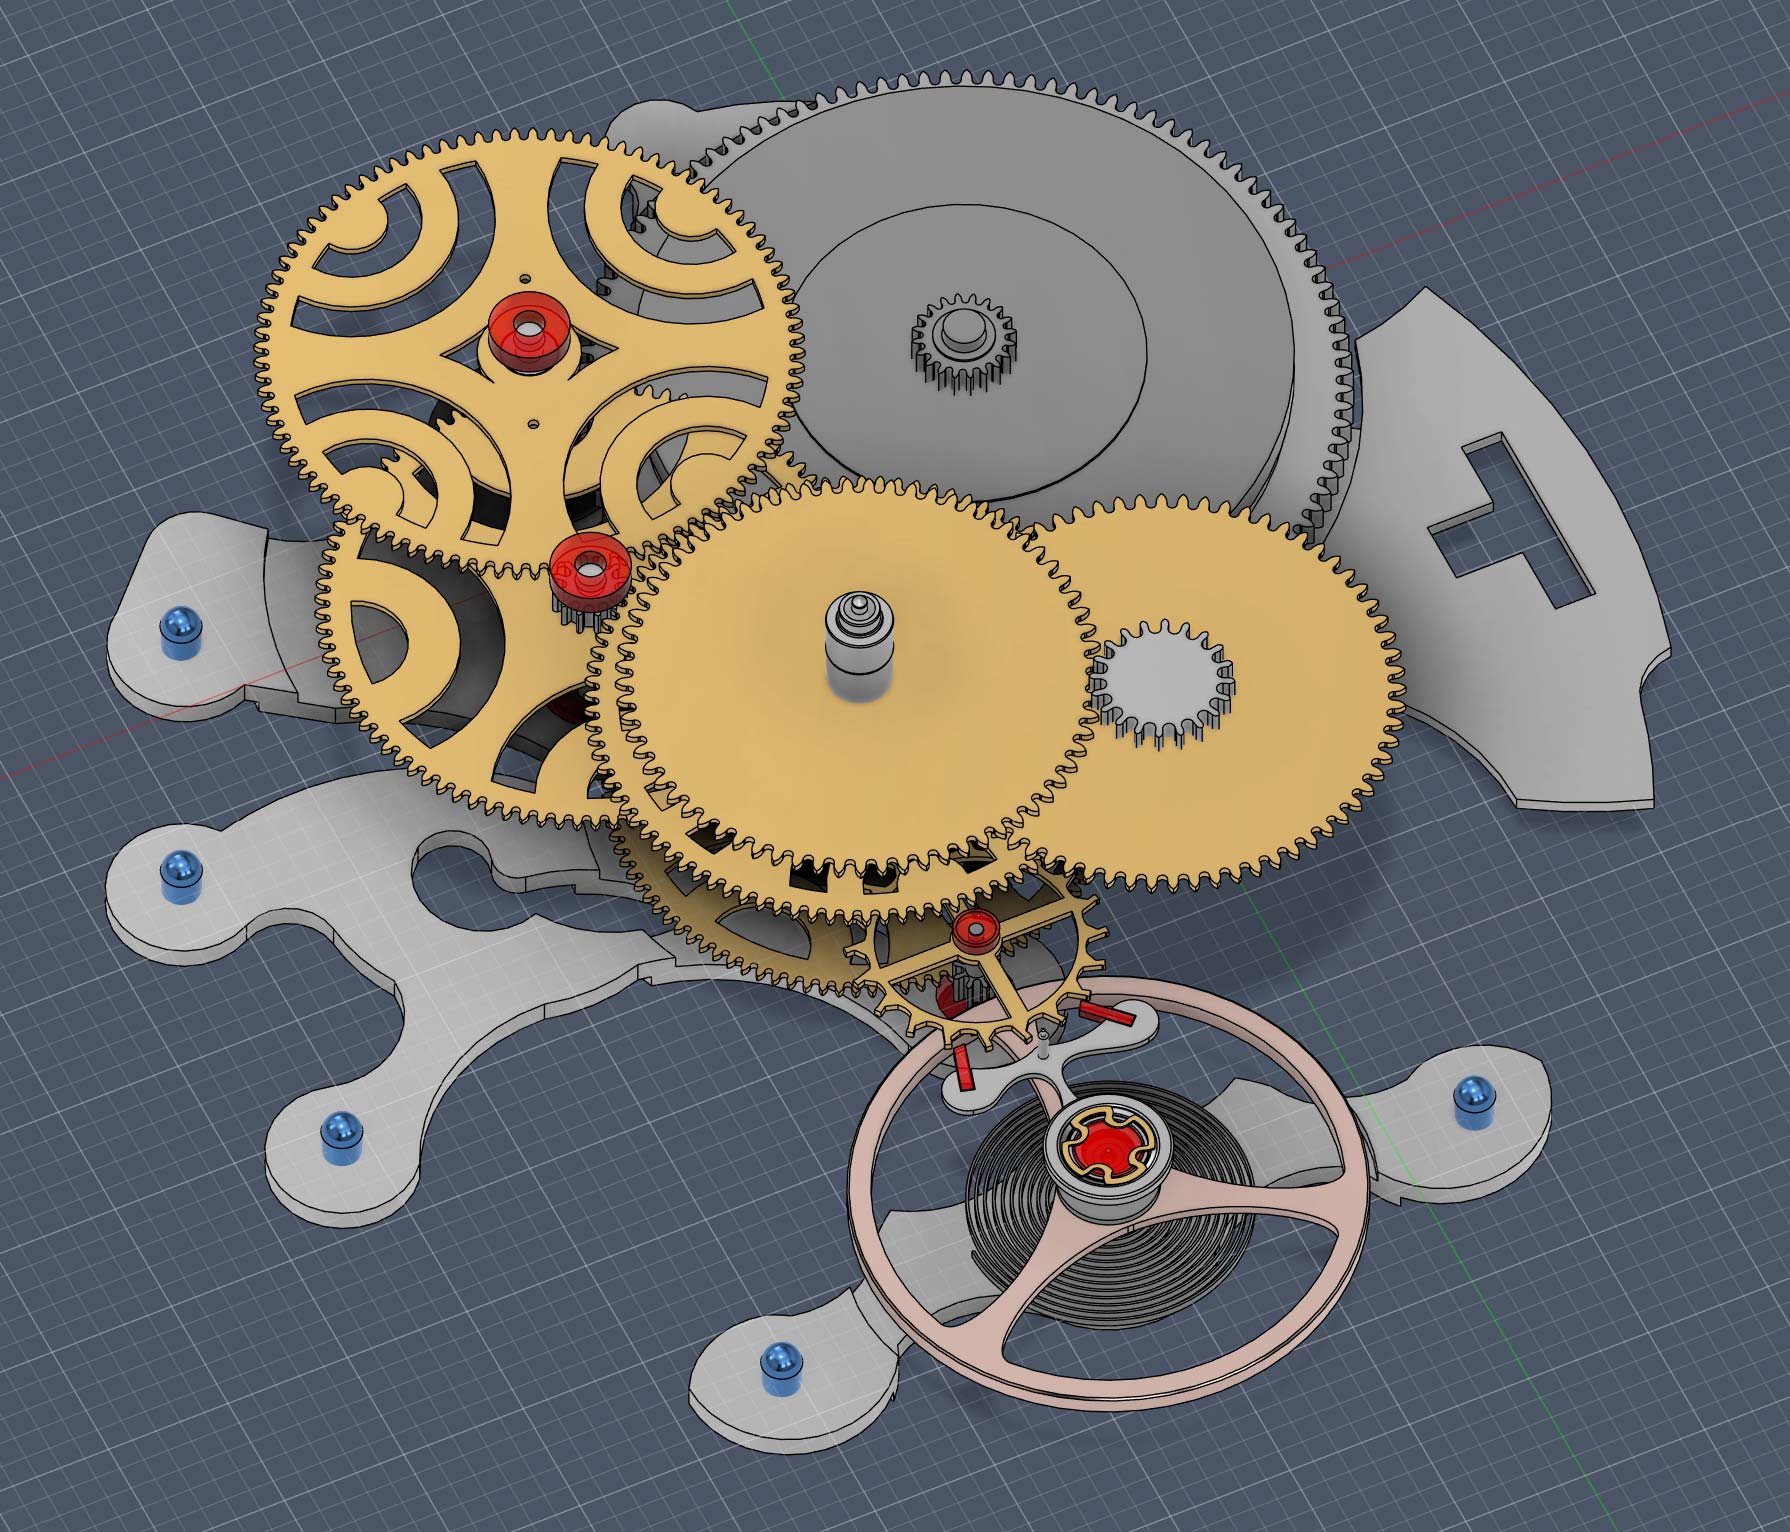
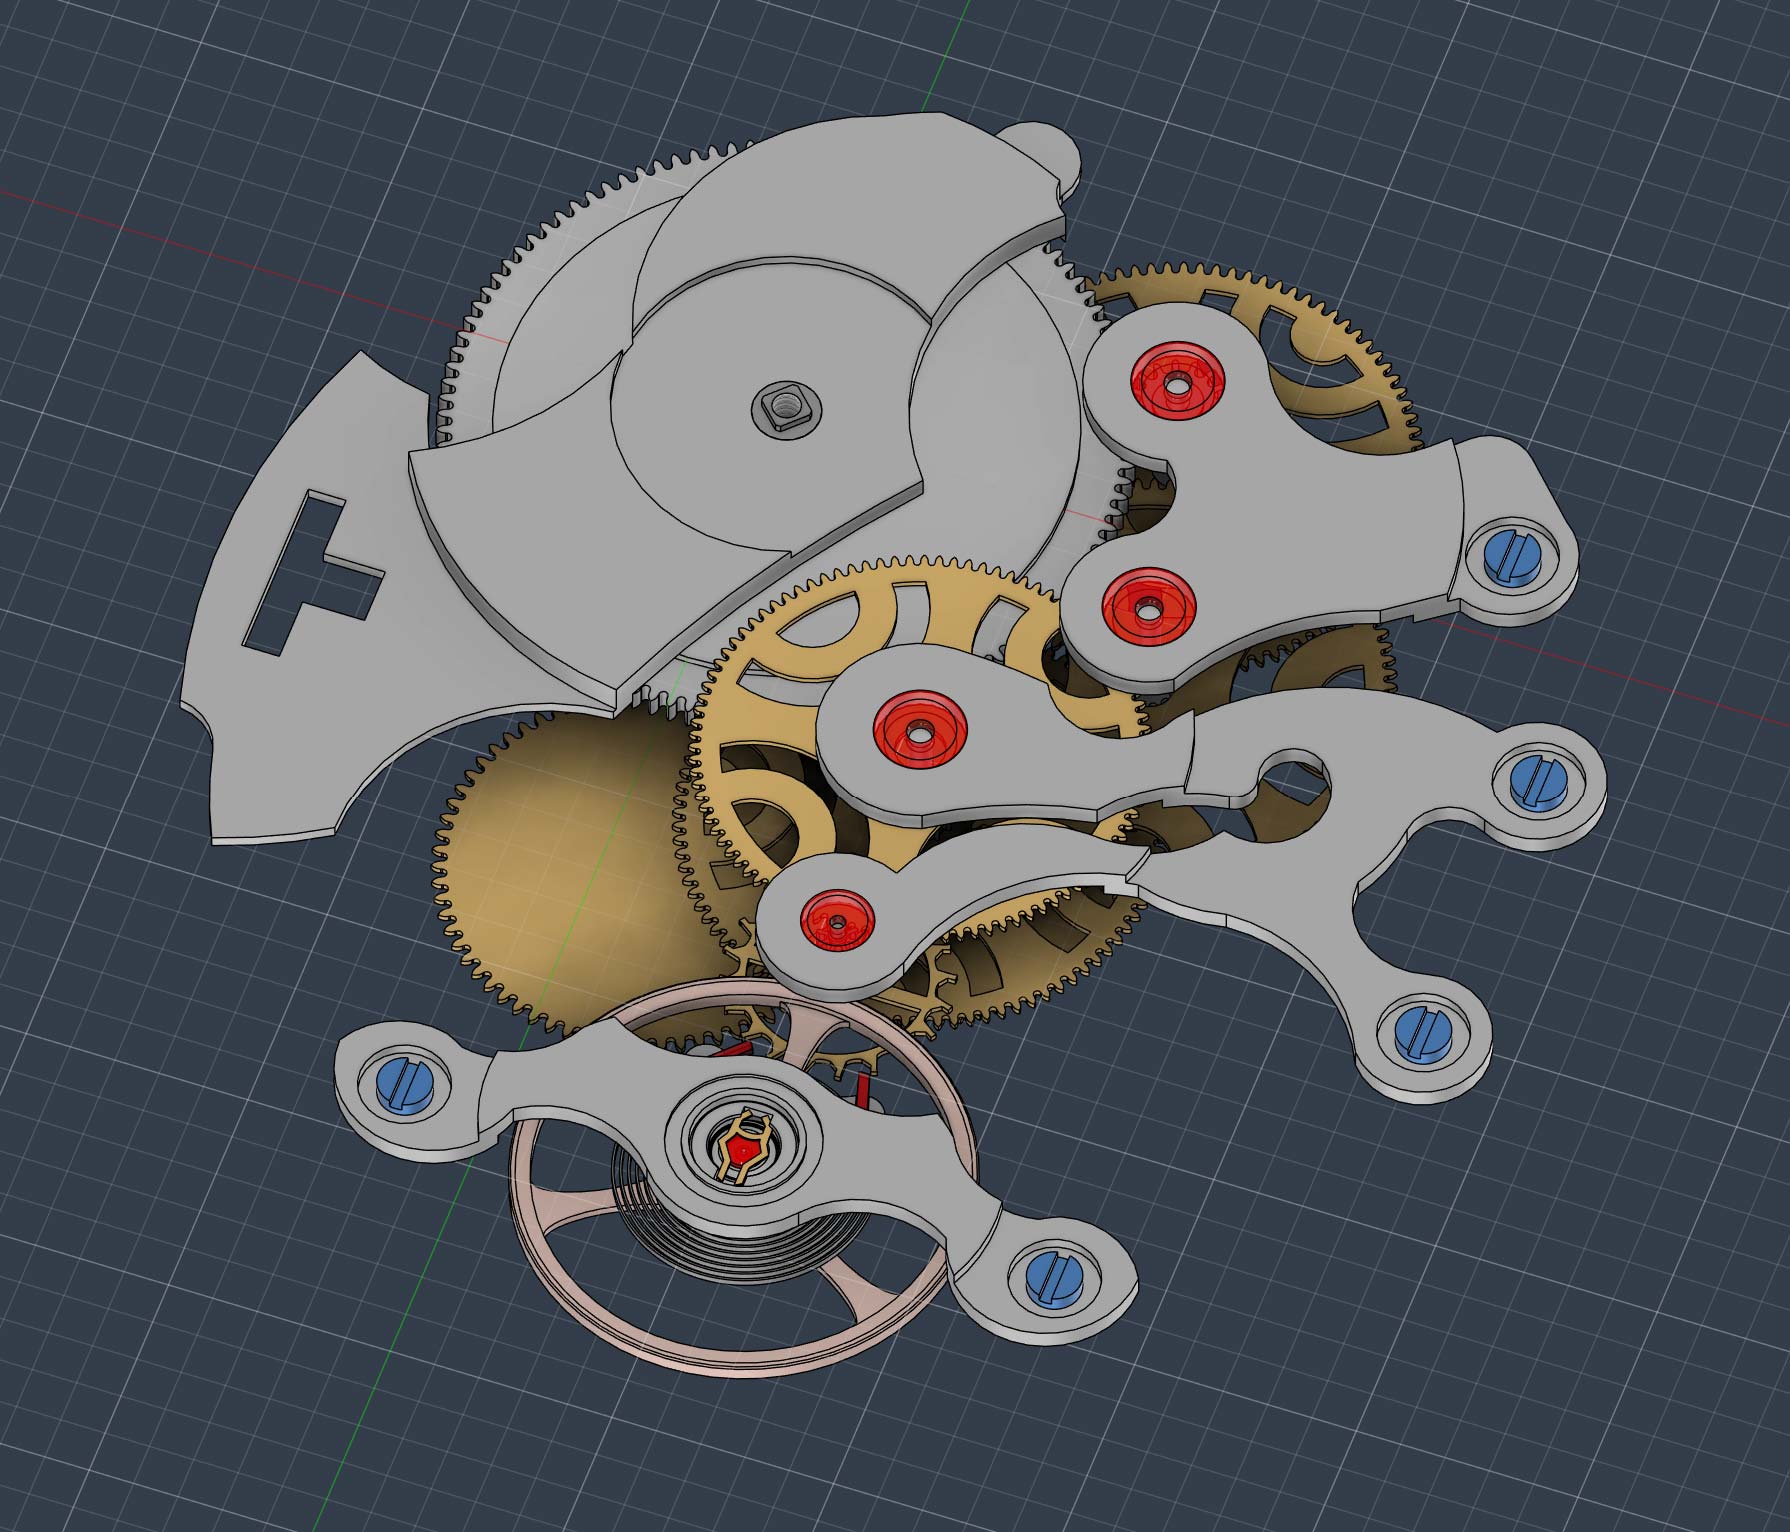
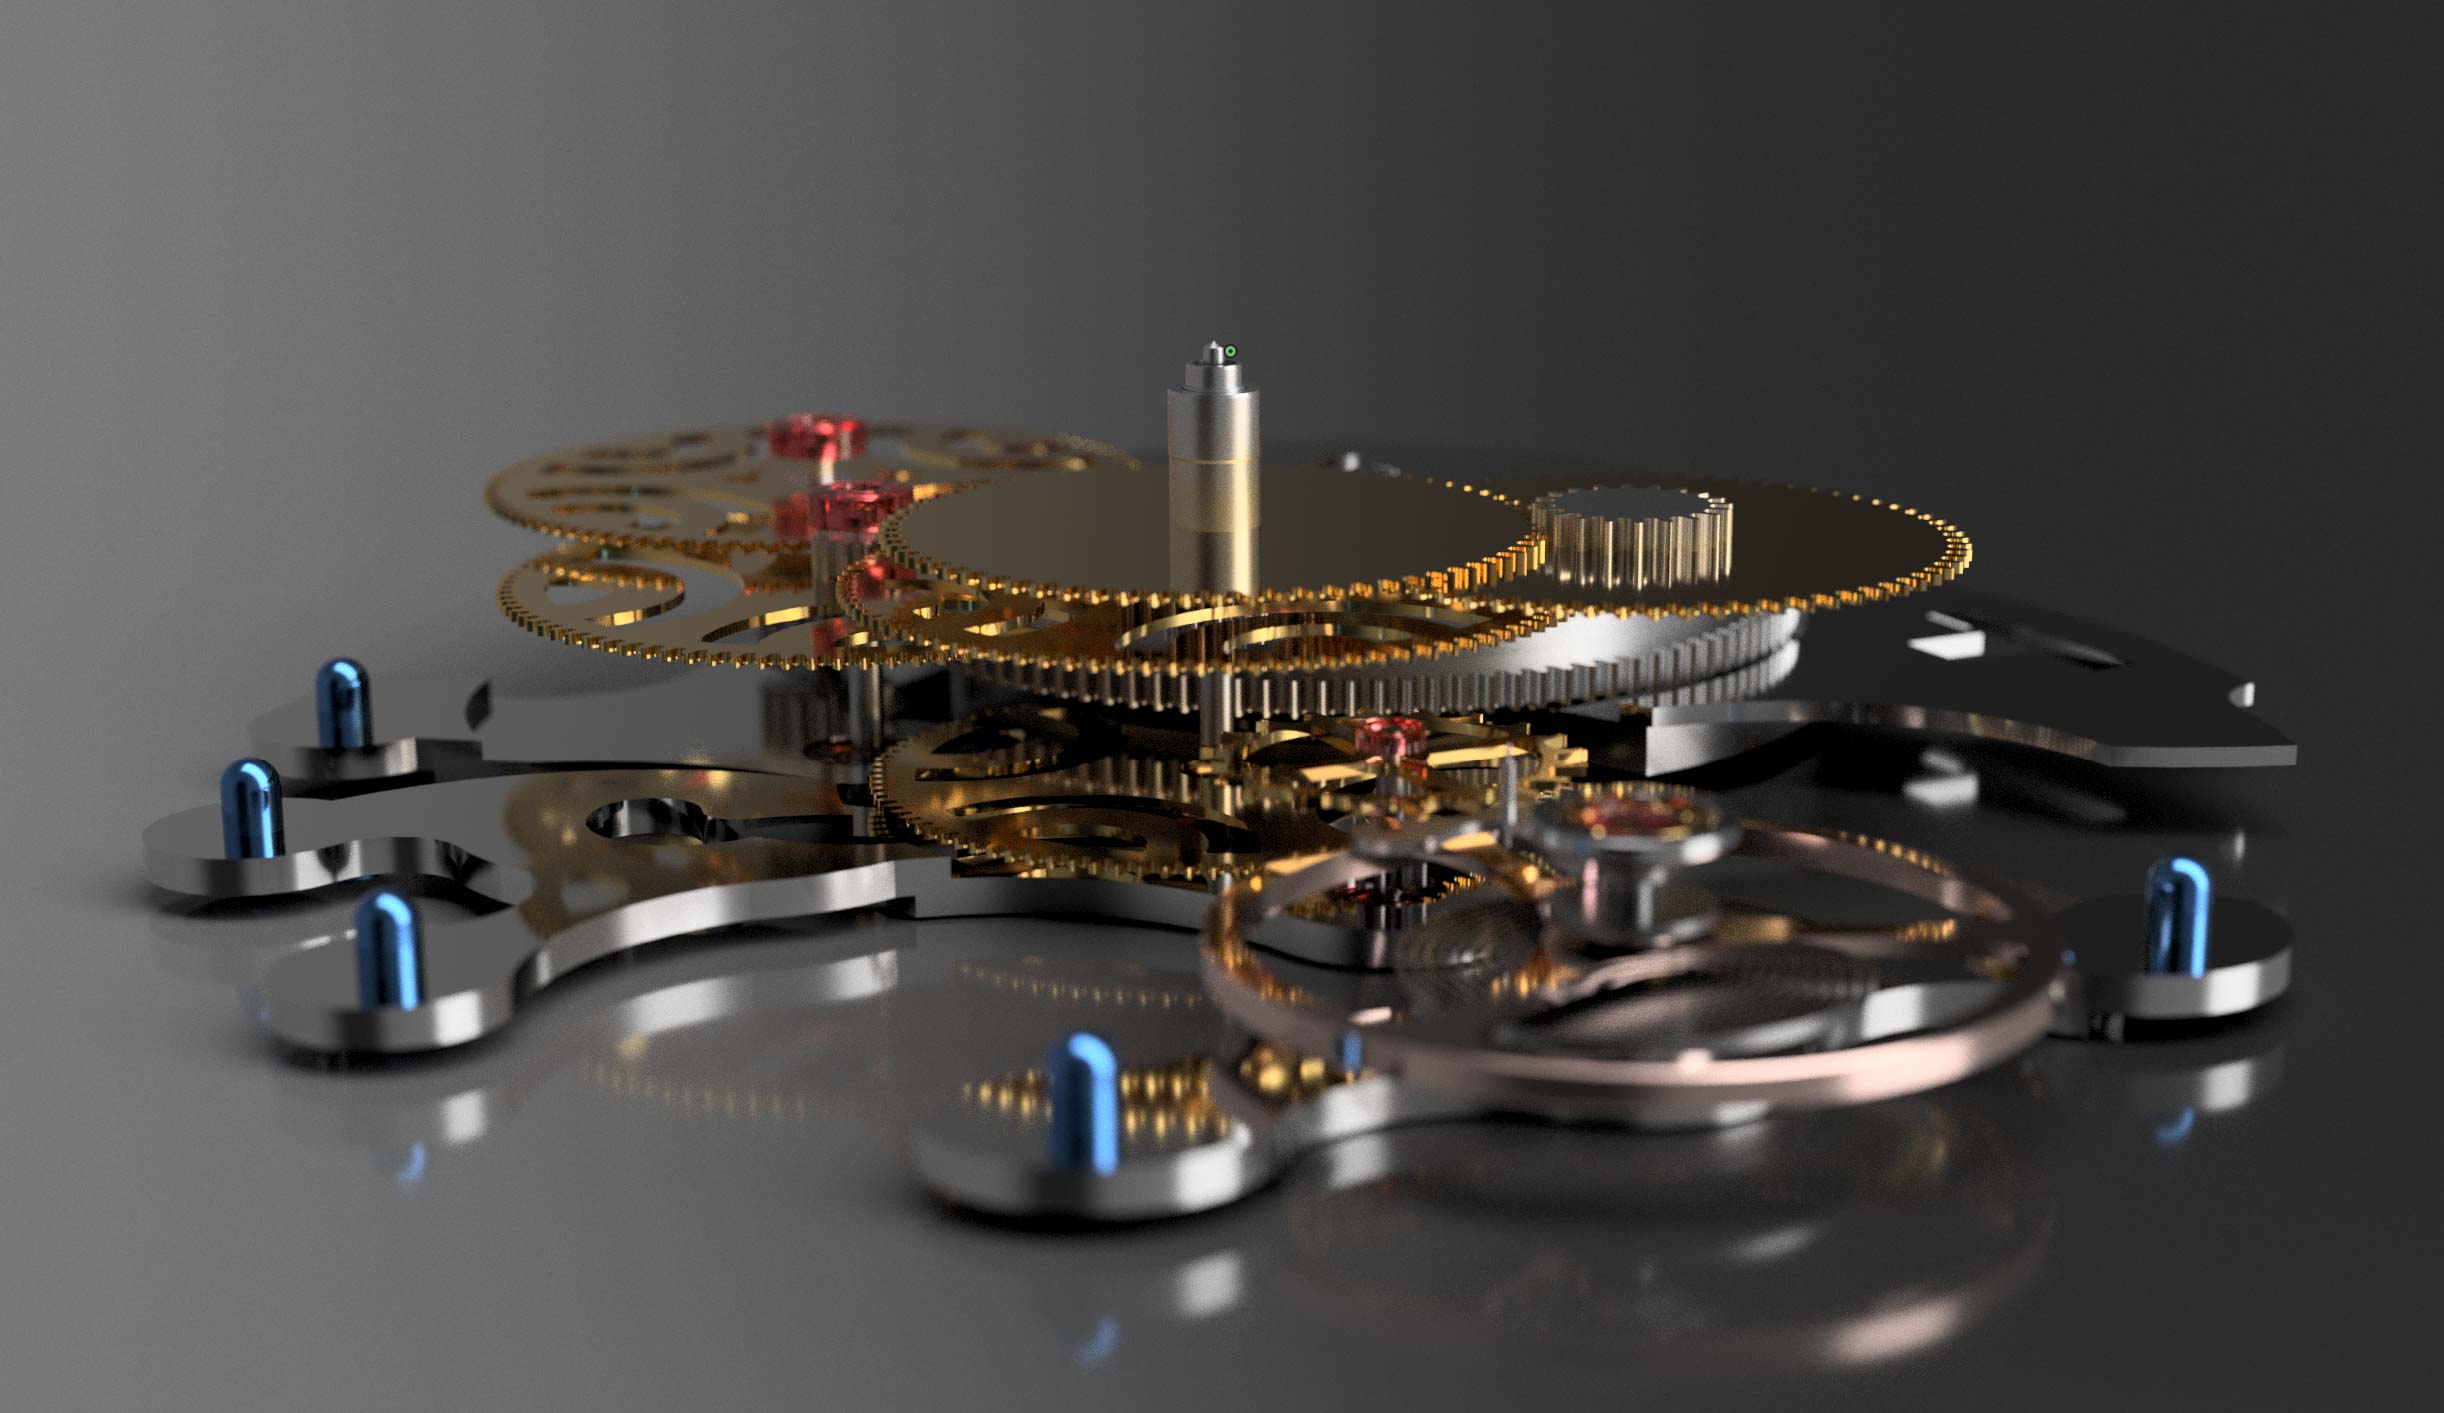
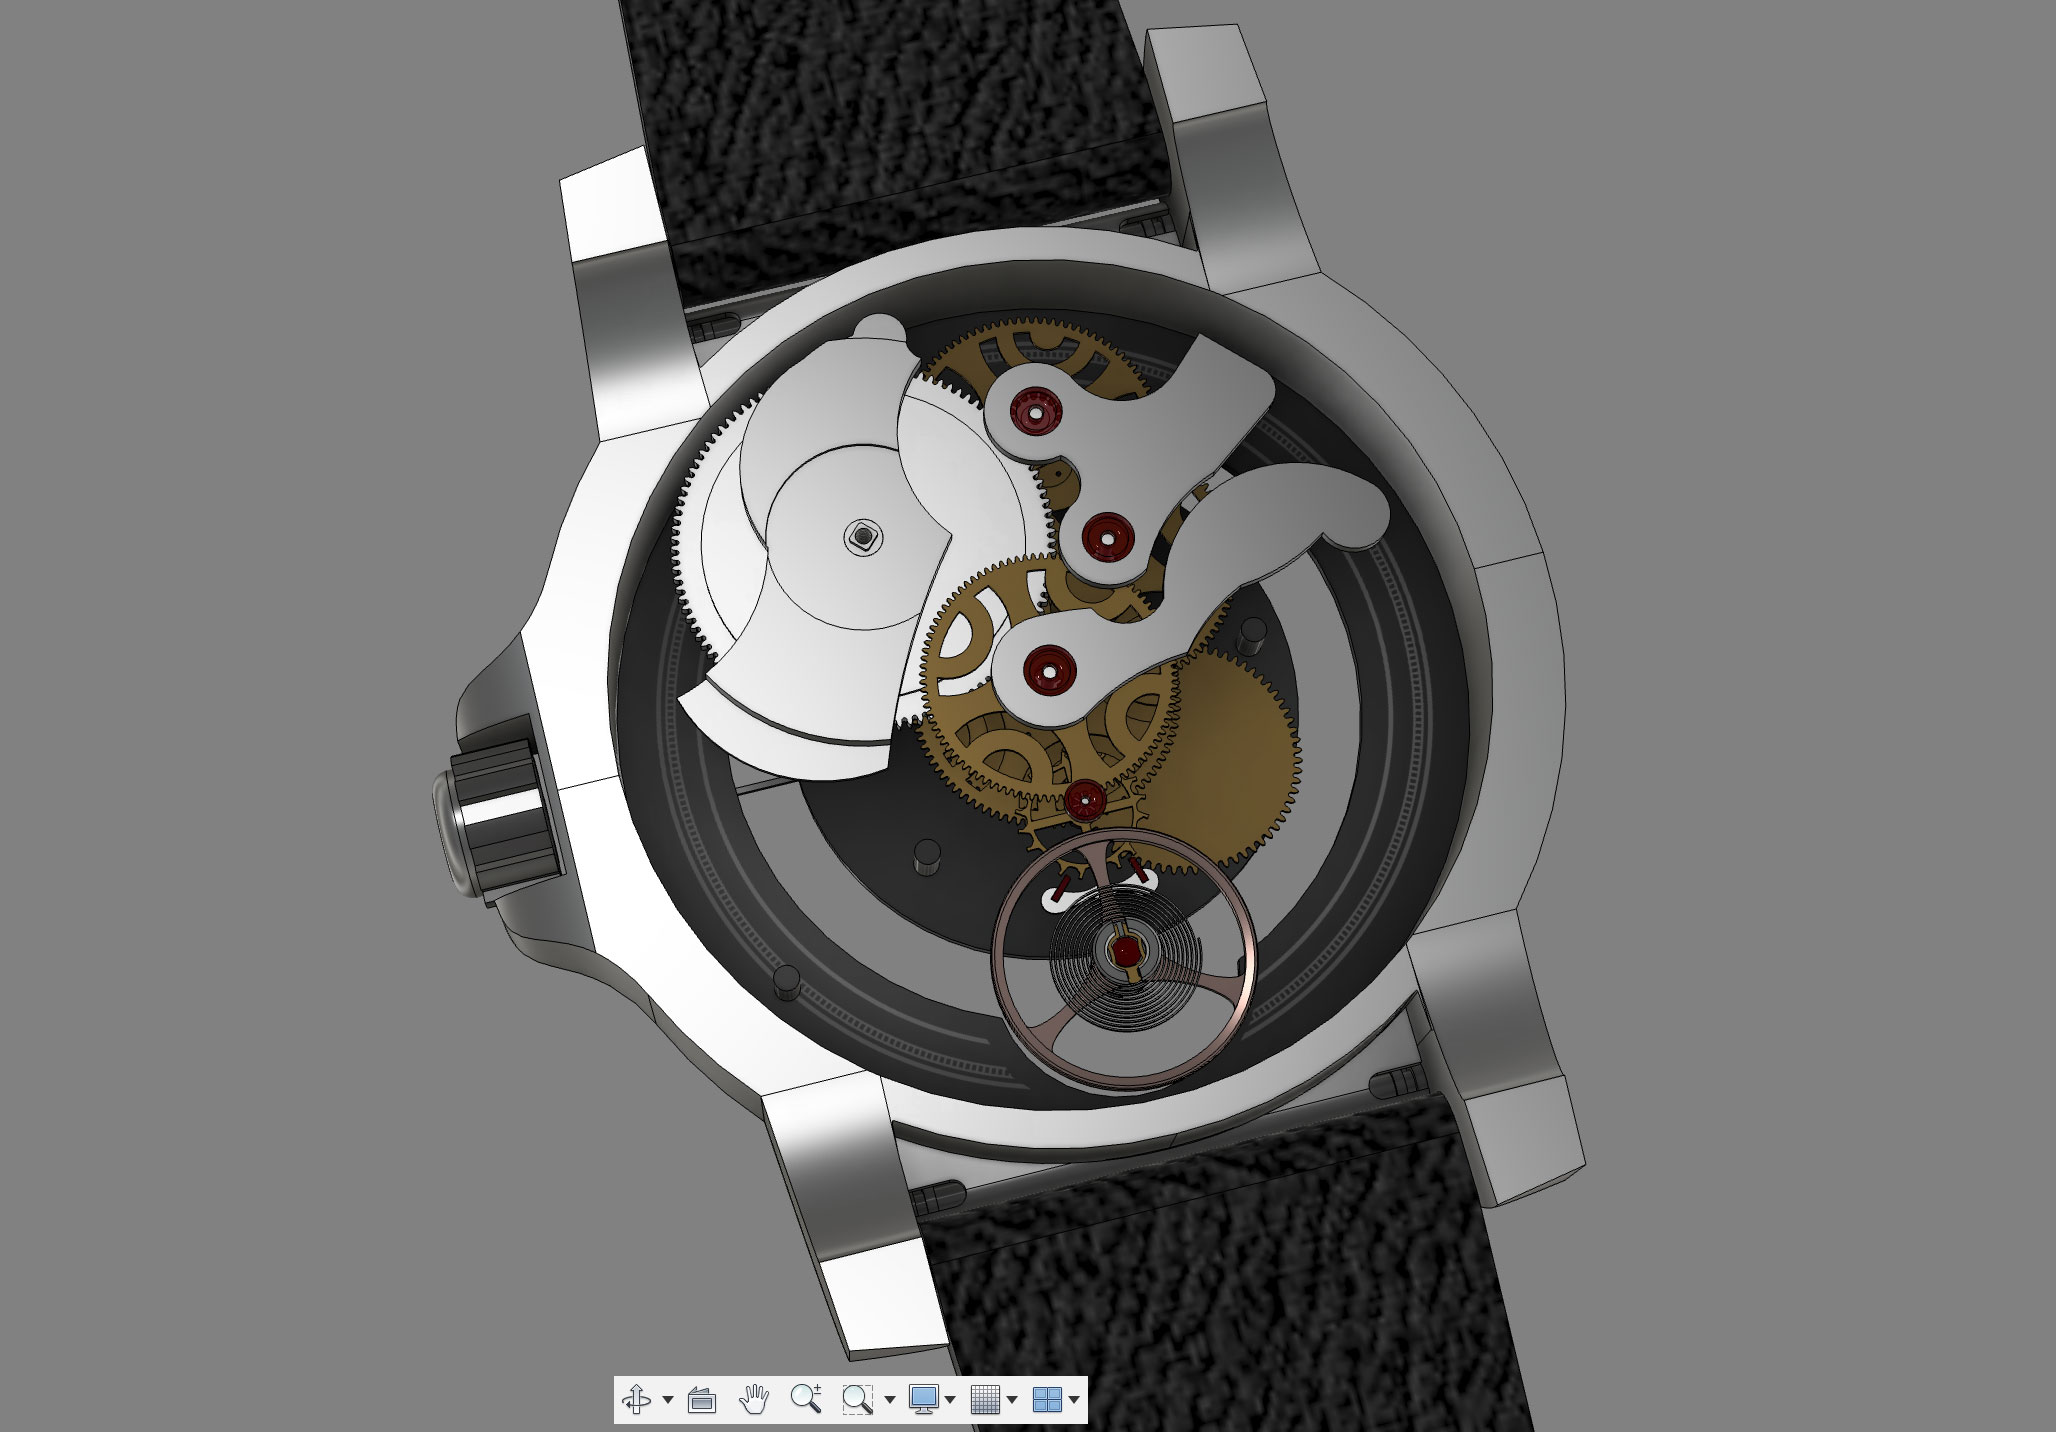
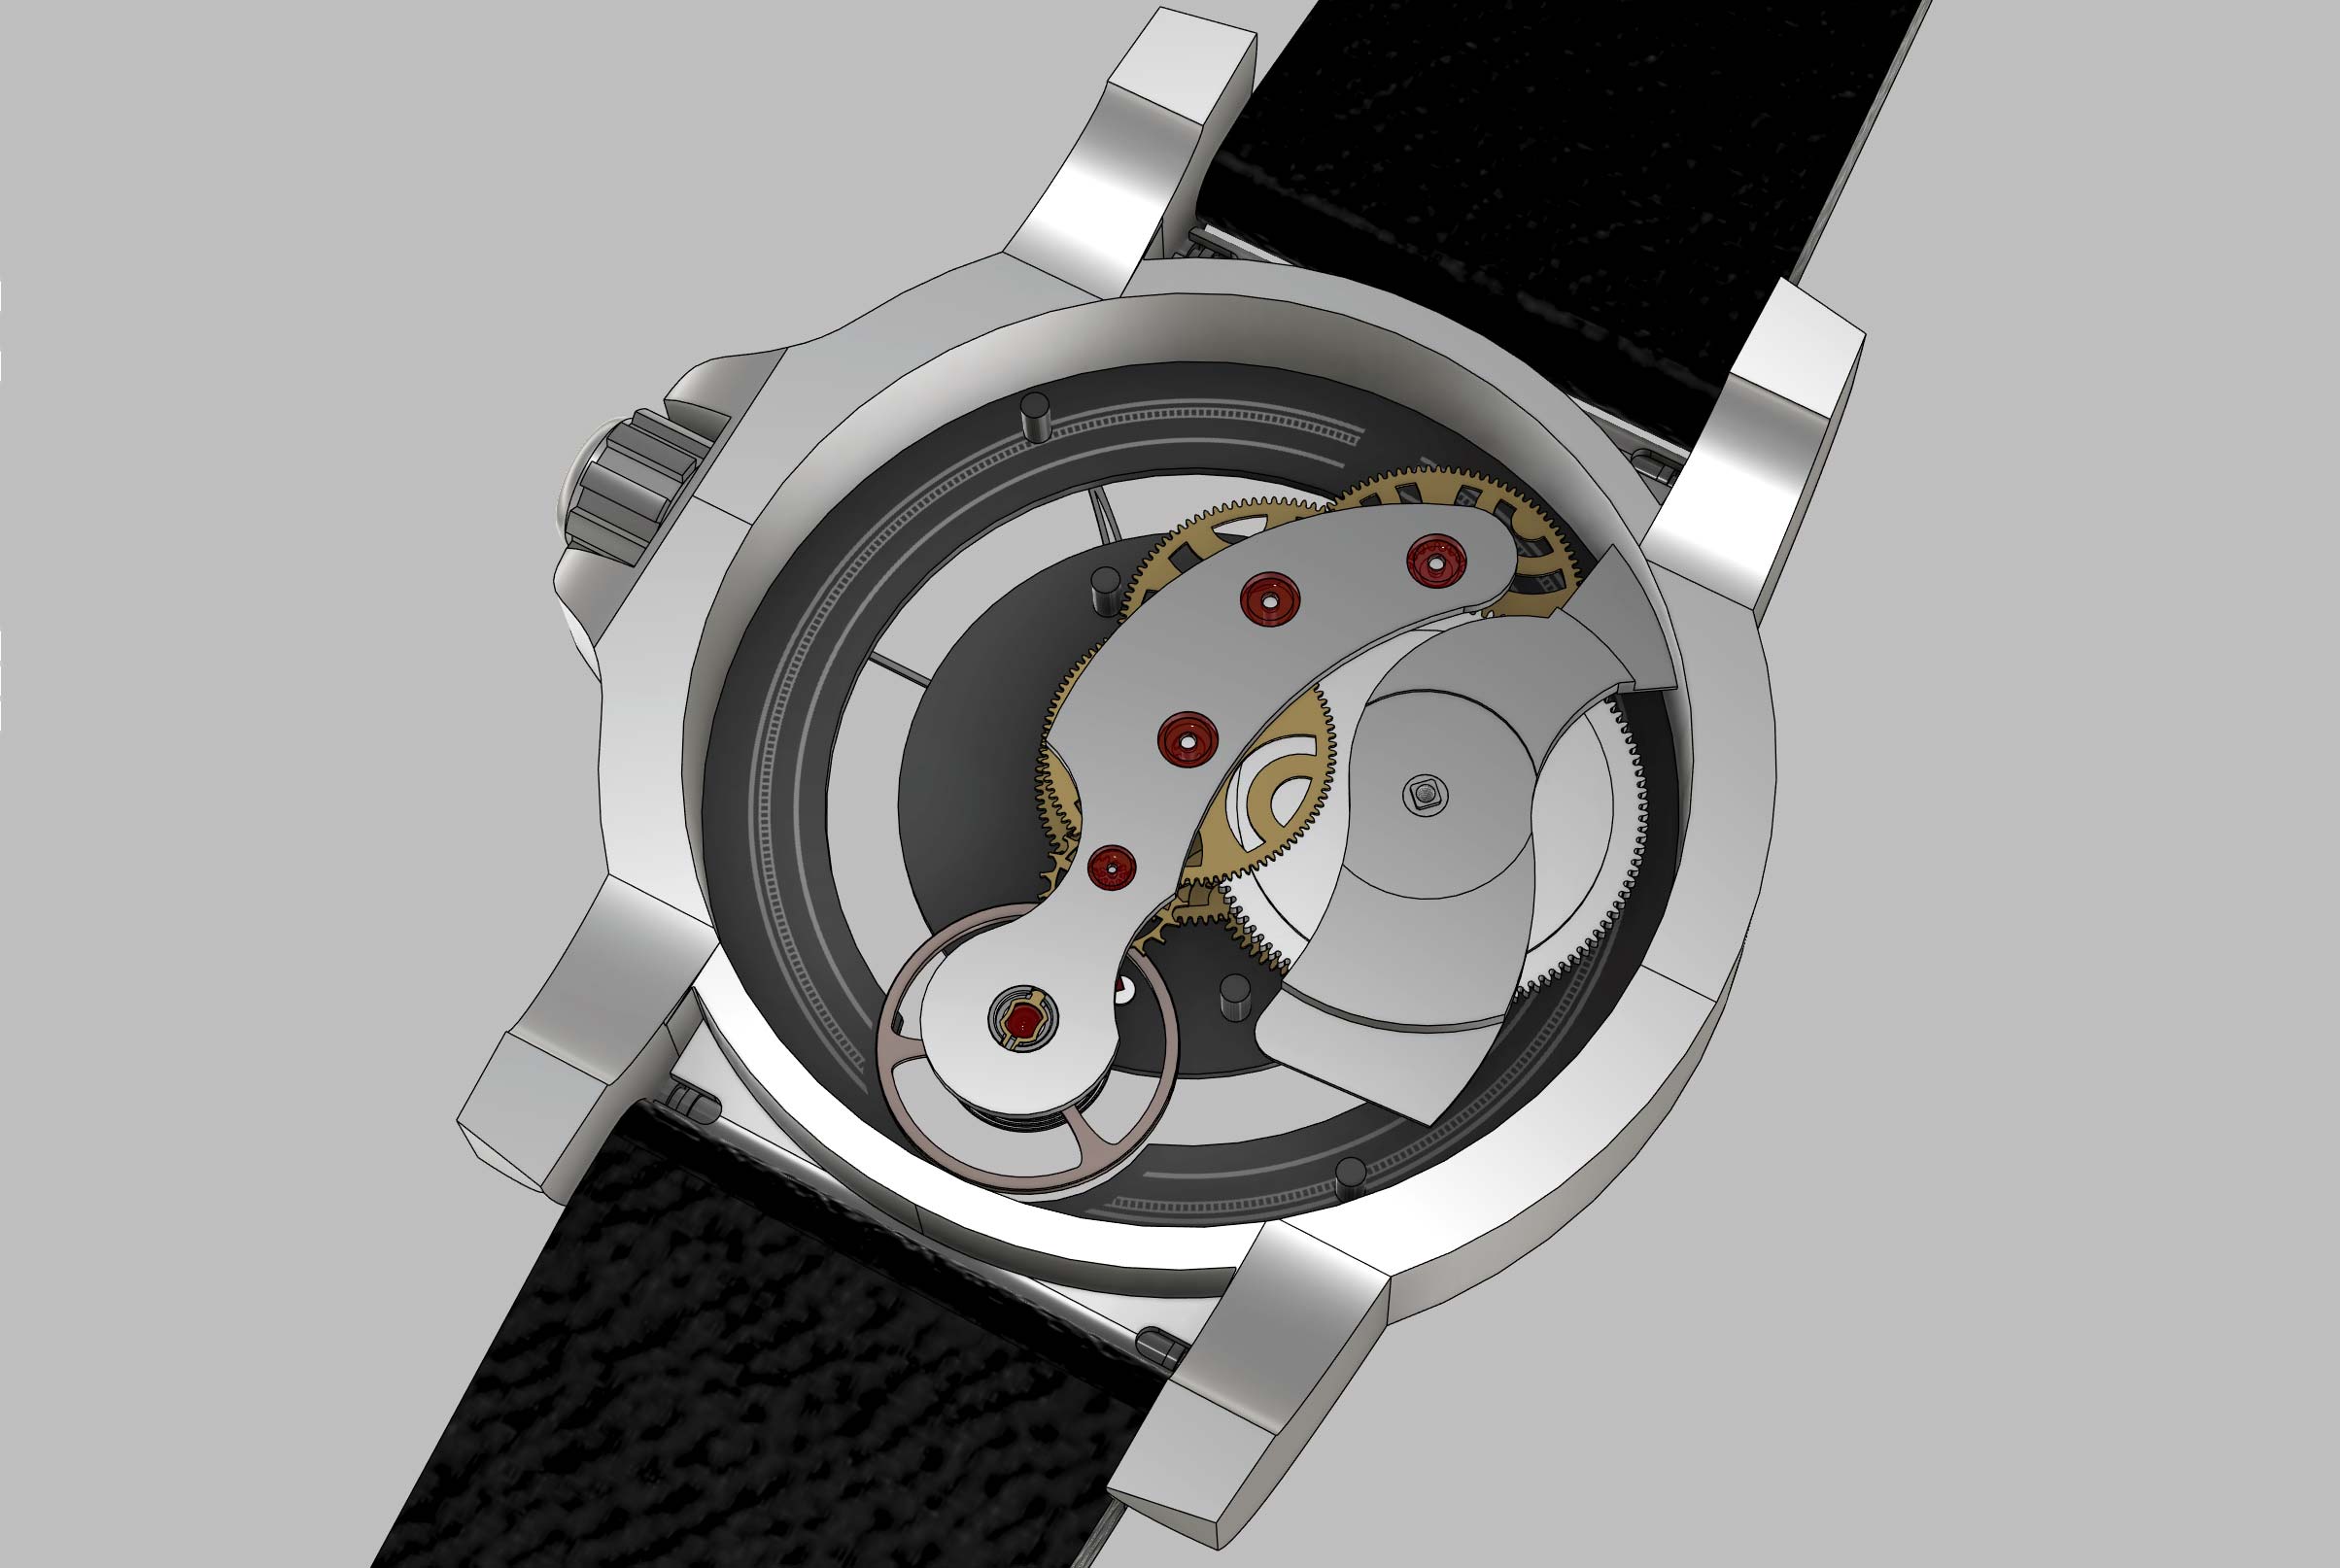
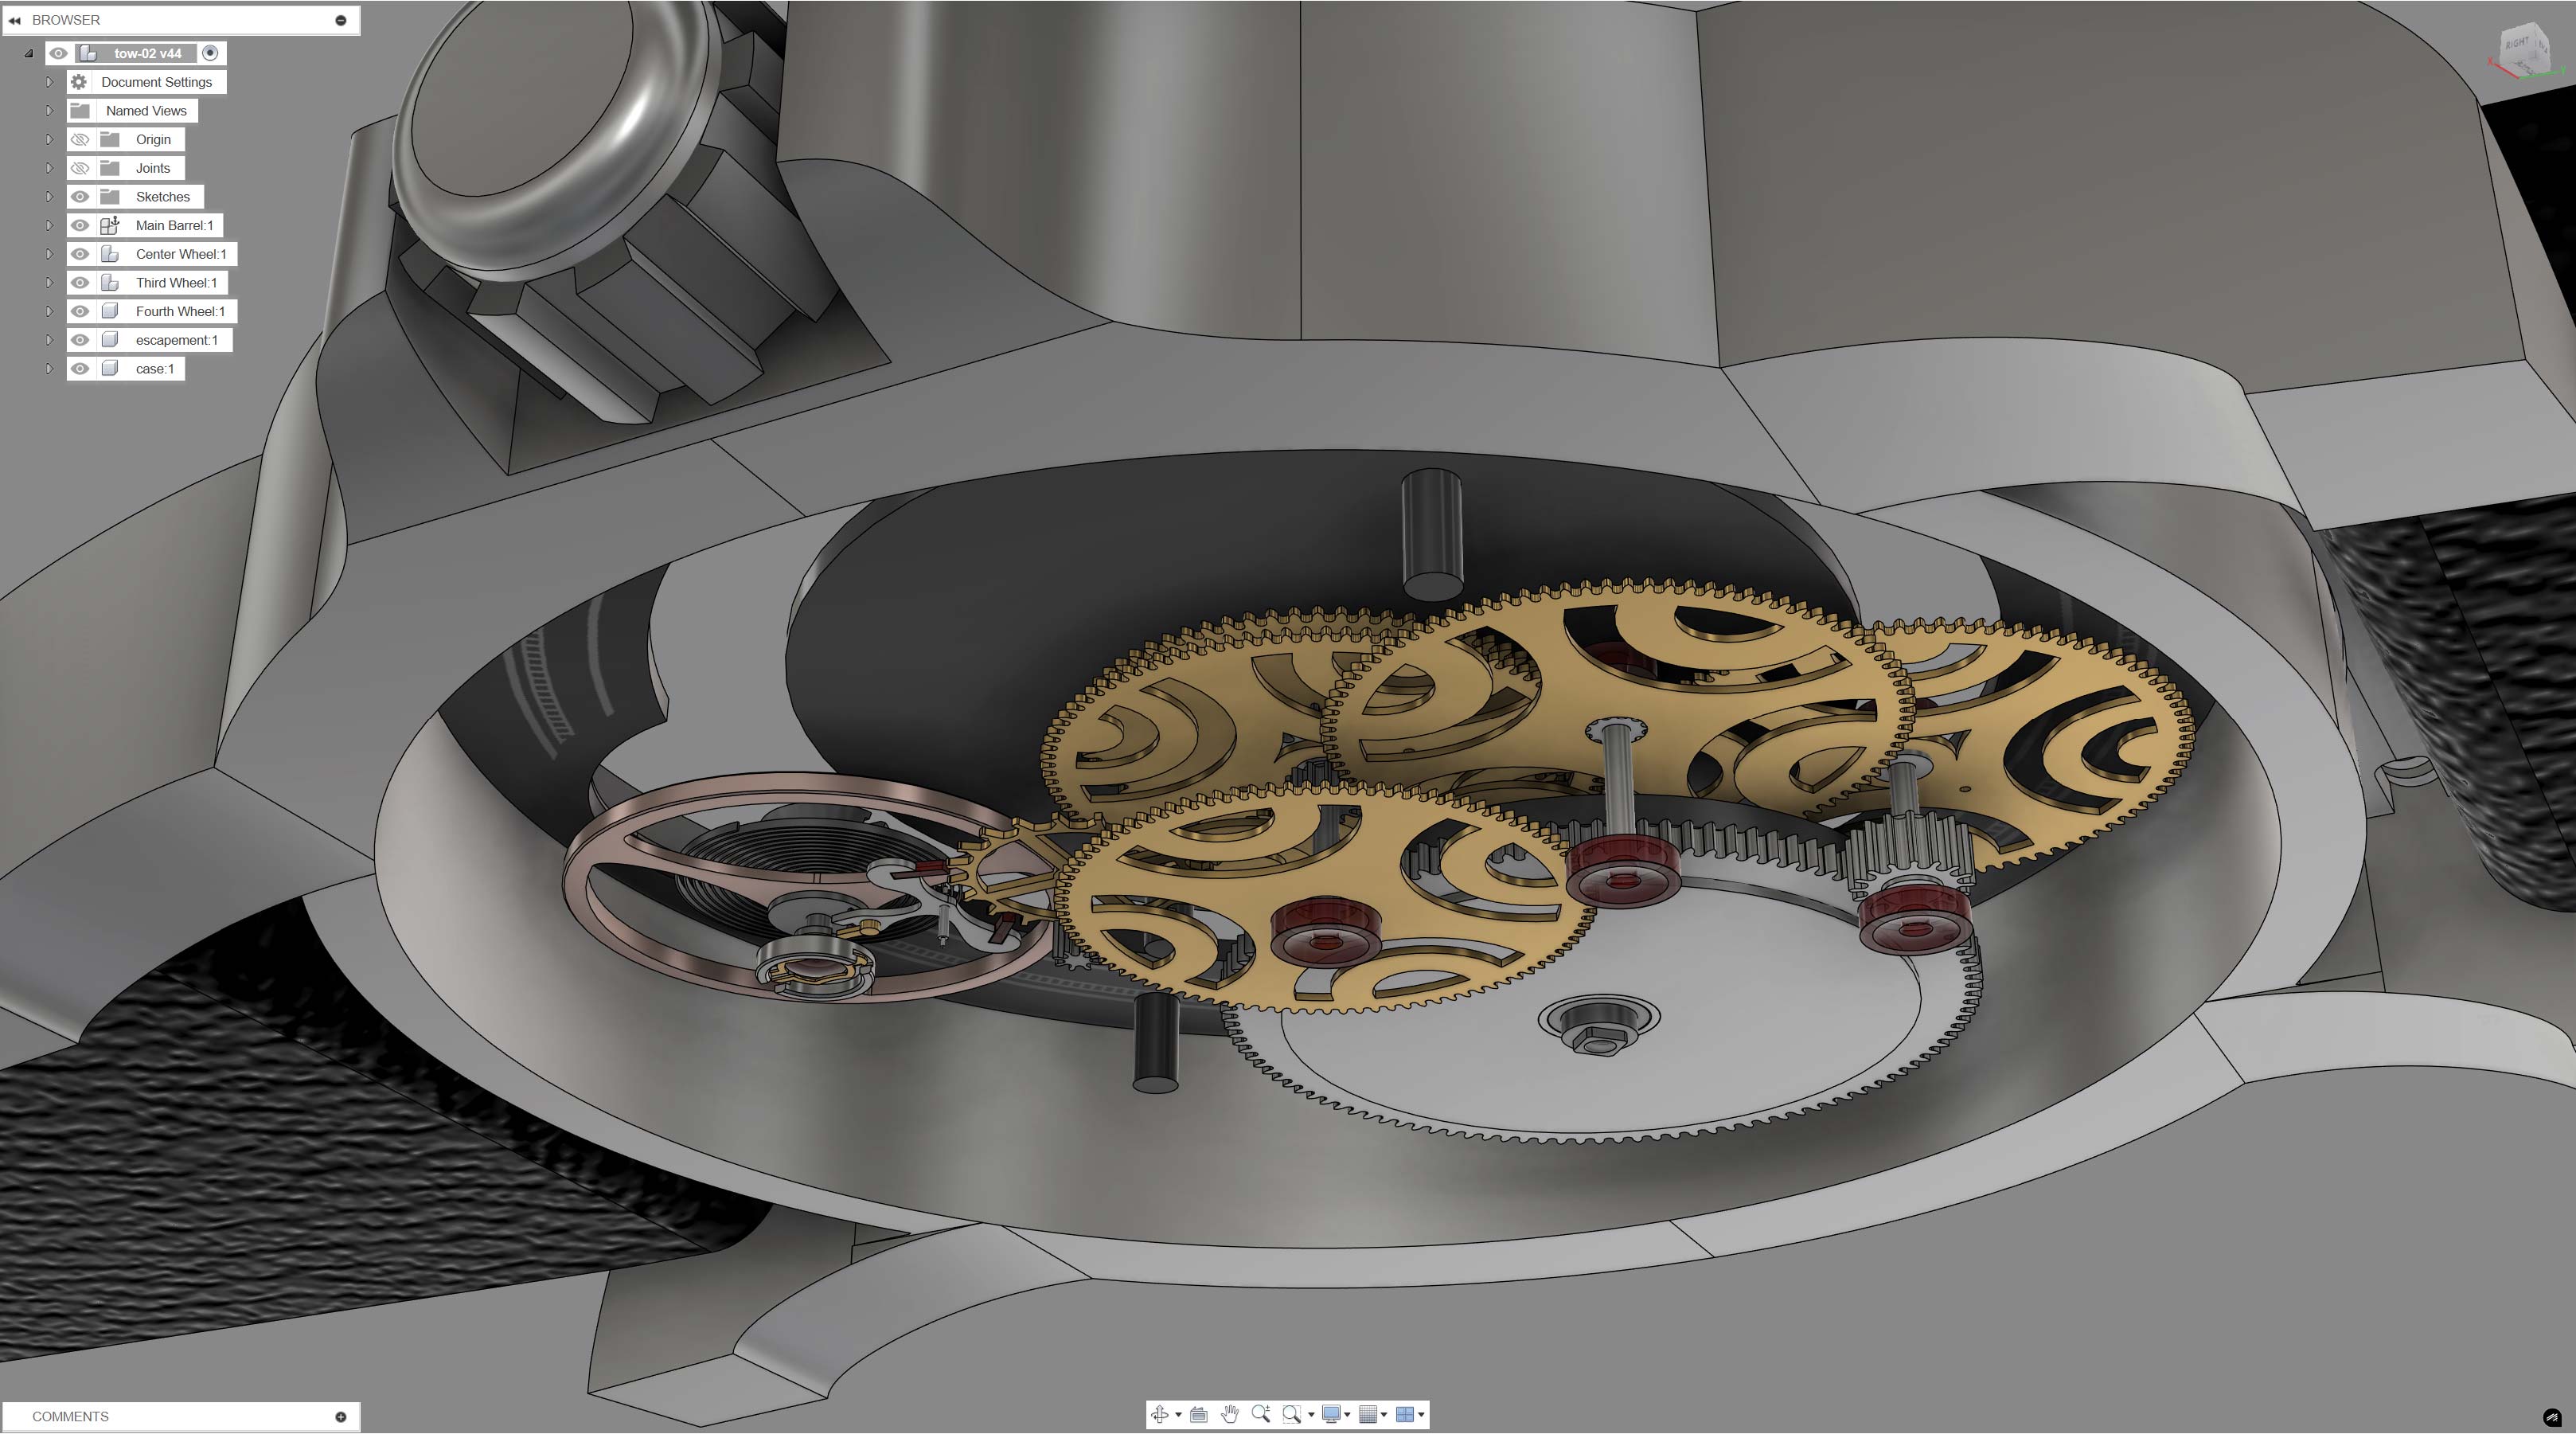
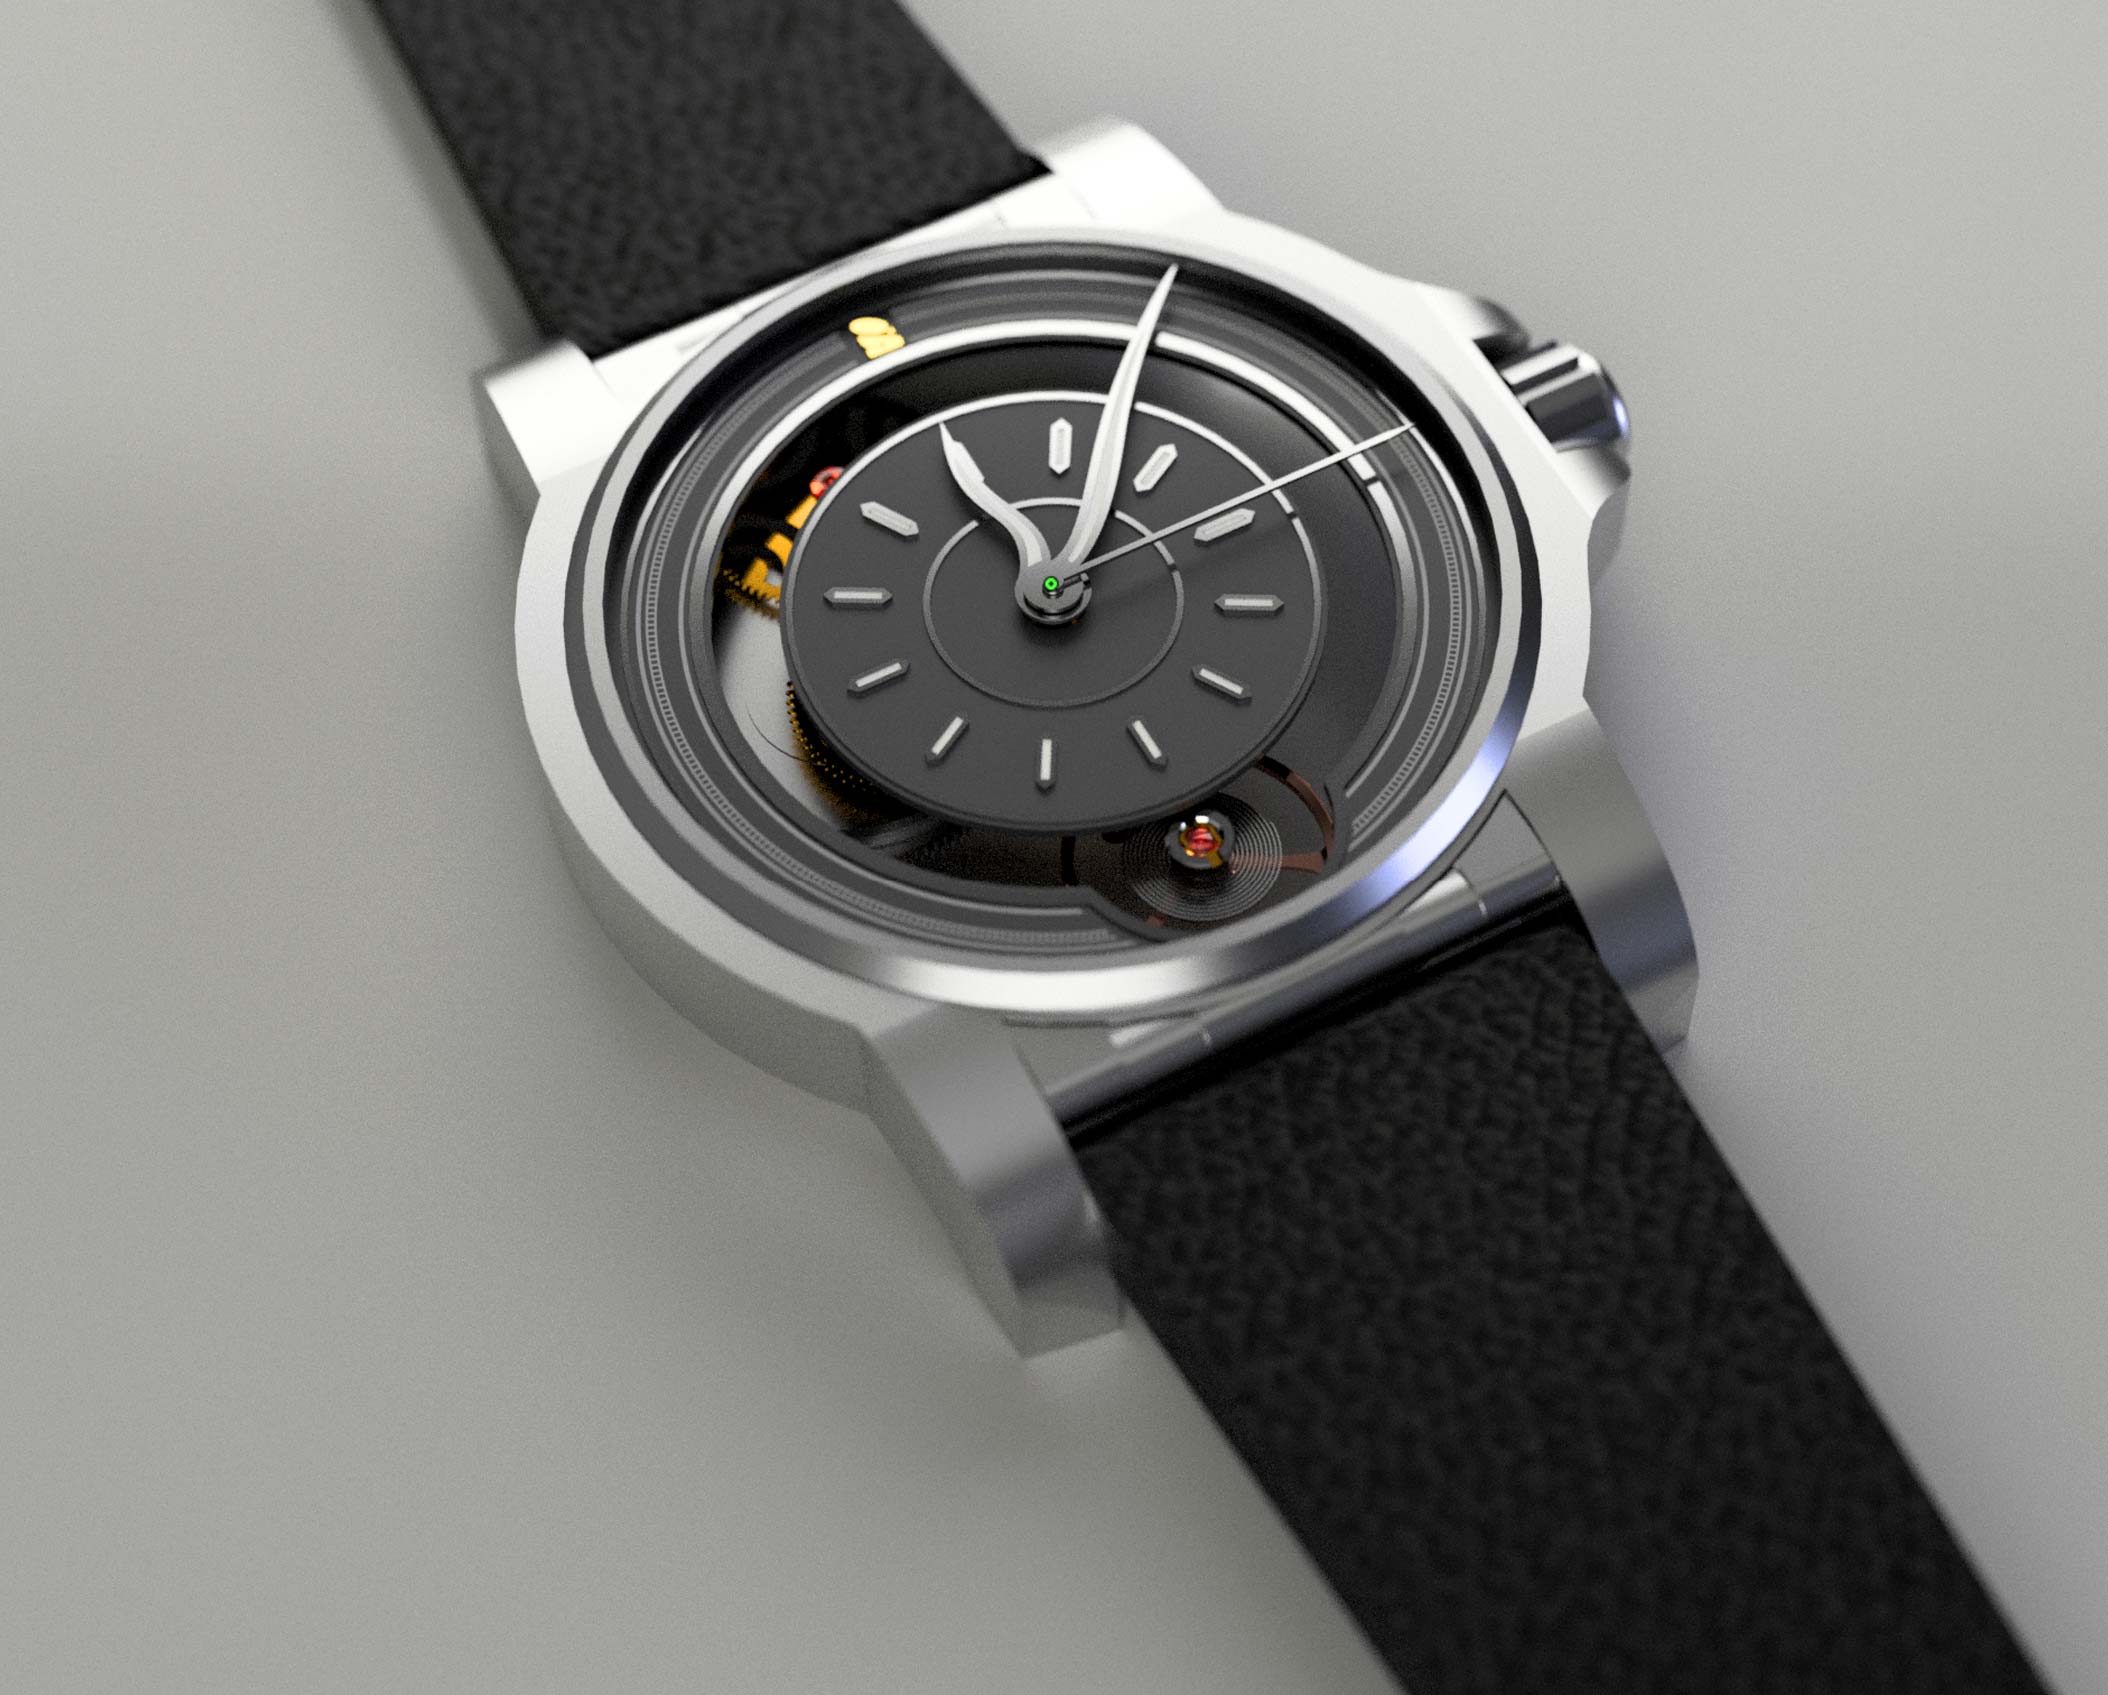
But today, I’m excited to take a break from the technical learning and focus on something creative: the winding mechanism. It’s time to work on the stem, bridge, and the two wheels and pinions that bring the mechanism to life. There’s something deeply satisfying about switching gears and immersing myself in the intricate details of watchmaking.

I’ll share updates on how it progresses and how all these elements come together. For now, it’s just great to get back to designing and building components with precision and care. Stay tuned!

This is of course all WIP 😊


sketch
sketch

Read standalone post

2024/12/23 17:40 UTC
TLDRHey, I just hit a big milestone by manually writing my first G-code for CNC machining, using guidance from ChatGPT instead of automated software. This hands-on approach helped me really grasp the basics of CNC programming, and the Elara machine executed my wax milling project flawlessly. 🎉 This experience boosted my confidence to tackle more complex designs soon—stay tuned for more updates!
Show more Show less

First G-Code: Bringing Designs to Life

Apologies for the silence lately! It’s been a challenging few days as I’ve been familiarizing myself with the NSCNC Elara and recovering from a stomach virus. Thankfully, I’m back on my feet and excited to share a major milestone—I wrote my first G-code manually! 🎉

Instead of relying on CAM software, I decided to create the G-code in a text file from scratch, with the guidance of ChatGPT. This hands-on approach helped me truly understand the fundamentals of CNC programming. My test involved milling a simple pattern in wax, a forgiving material perfect for beginners.

Here’s the G-code I wrote, complete with comments to explain each line:

G90 G17 G21

F300

G53 G0 Z0

G53 G0 X-100 Y35

G53 Z-20

G0 X0 Y0

G0 Z-15

G1 Z-23 F100

S3000 M3

G2 I-5 J0 F200

M5

G0 Z10

The Elara, equipped with the E3000 controller and 3060 AQC spindle, executed the code perfectly. Watching the machine follow my instructions precisely was an incredibly rewarding experience! 😊

This exercise deepened my understanding of G-code and CNC operations, making me more confident about tackling more complex projects in the future. I’ll continue refining my skills and moving toward intricate designs for the watch components.

Thank you for your patience during this brief hiatus—stay tuned for more updates as the journey unfolds!

😊


Read standalone post

2024/12/13 14:13 UTC
TLDRJust started testing the NSCNC Elara with wax, and it's been a surprisingly intuitive and precise experience for a milling newbie like me. Wax is ideal for learning, and I'm already dreaming of crafting intricate watch components. Excited about the creative possibilities this machine offers—stay tuned for more adventures! 🚀
Show more Show less

First Tests with the NSCNC Elara: Wax Milling Adventures!

The day has finally come—my first tests with the NSCNC Elara are underway, and I couldn’t be more excited! 🎉 This is my very first experience with milling, and I decided to start with wax as the material for these initial tests.

The Elara is an absolute marvel to work with. Even as a complete beginner, I’m amazed at how intuitive the setup feels and how precise the machine operates. Watching the spindle carve through the wax with precision is an experience like no other. 😊

While I’m still learning the ropes, this first test has been incredibly encouraging. Wax is a forgiving material to work with, which makes it the perfect starting point for understanding the machine’s capabilities and refining my technique.

I can already see how this machine will open up countless possibilities for creating intricate watch components. These early steps are just the beginning of what promises to be an incredible journey!

Stay tuned as I continue exploring, learning, and sharing updates from these exciting first days with the Elara. 🚀


sketch

Read standalone post

2024/12/10 15:17 UTC
TLDRJust tried blueing metal for the first time using O-1 steel and my new Evenheat oven, and the results were unexpectedly fantastic! The steel turned a gorgeous uniform blue, which is promising for future watch component projects. Excited to keep experimenting and would love any tips you might have! 😊🔧
Show more Show less

Blueing Metal Test: First Experiments

Today, I embarked on my first test in blueing metal, and it was an exciting learning experience! I started with O-1 steel in 1/16" thickness, which I sourced recently. (I’m still on the hunt for W-1 steel, so I’ll test that once I manage to find a reliable supplier.)

For this experiment, I also put my new Evenheat KH Series 13.5" oven to work, and with the guidance of ChatGPT, I developed the following steps for the process:

  • Step 1: Ramp rate: 300°C, Setpoint: 300°C, Hold time: 10 minutes
  • Step 2: Ramp rate: 137.38°C, Setpoint: 300°C, Hold time: 18 minutes
  • Step 3: Ramp rate: AFAP (as fast as possible), Setpoint: 150°C, Hold time: 45 minutes

The results? To my surprise, they turned out better than expected! 🎉

The steel developed a beautiful, uniform blue finish that exceeded my initial hopes for this experiment. This was a great first step toward mastering the blueing process for watch components, and I’m eager to refine the technique further. 😊

Stay tuned as I continue testing with different materials and tweaking the steps. If you have any tips or insights, I’d love to hear them!

Cool! 😊


sketch
sketch

Read standalone post

2024/11/29 15:43 UTC
TLDRThe Elara 2 CNC mill just landed, promising to elevate production with its precision and ability to handle a range of materials—from brass to titanium—ideal for crafting intricate watch components. Its 4-axis capability allows for complex designs, but there's a hitch: an air compressor is needed to fully unleash its potential, and the hunt for one is on. Stay tuned for updates on this game-changing machine's journey to operational glory! 🎉
Show more Show less

The Elara 2 Has Arrived: A World of Possibilities!

I'm thrilled to announce the arrival of our new Elara 2 machine! 🎉 This advanced 4-axis CNC mill, equipped with the E3000 controller and the 3060 AQC spindle, is set to revolutionize our production capabilities. 😊

The Elara 2 boasts a redesigned frame for enhanced stability and durability, along with an updated control system for more intuitive operation. This precision powerhouse allows for unparalleled accuracy, making it perfect for crafting intricate components for watchmaking.

With the E3000 controller and 3060 AQC spindle, the machine is capable of handling a variety of materials, from soft metals like brass and gold to tougher materials like stainless steel and titanium. Its 4-axis capabilities open the door to complex geometries and unique designs, making it ideal for producing one-of-a-kind timepieces or restoring hard-to-find parts.

Another highlight is the Elara 2's compatibility with high-precision workpiece holders, such as the MaxxMacro system, ensuring every detail is machined with meticulous accuracy. I’m particularly excited to see how it performs on delicate parts like gears, bridges, and even custom decorative elements.

The possibilities feel endless, and I can’t wait to put this machine to work. That said… there’s a catch. It turns out I need an air compressor to run the spindle properly, and I don’t have one yet. 😅

So, while the Elara 2 is here and ready to go, I’m currently on the hunt for the perfect air compressor to unlock its full potential. If you have any recommendations, feel free to share—I could use the help! 😊

Stay tuned as I sort this out and get the machine up and running. Here’s to precision, innovation, and, hopefully, finding an air compressor soon! 🎉

😊


sketch
sketch

Read standalone post

2024/11/19 15:00 UTC
TLDRI dove into KIF systems and tested two shock-absorbing models, the 9131-5903 and 9131-5904, which are promising for movement design. Noticing instability in one wheel, I added an extra leg for more support—it's all about strengthening weak spots early. Overall, these tweaks made the movement feel sturdier, keeping the project on a solid path forward. 😊
Show more Show less

Exploring KIF and Securing the Wheels

I’ve heard great things about KIF systems, so I decided to dive in and do some hands-on investigation. After some research, I went ahead and implemented two models: the 9131-5903 (Sous, for the dial side) and the 9131-5904 (Sus, for the plate side). These components are known for their excellent shock absorption, and I’m excited to see how they perform in the movement design.

While working on this, I also noticed one of the wheels felt a bit insecure. To address that, I added an additional leg to give it more stability. It’s always rewarding to spot potential weak points early and strengthen them before they become an issue later on. 😊

With these updates, the movement is feeling more robust and ready to take on its next challenges. As always, learning and iterating is part of the fun—stay tuned for more progress soon!

😊


sketch sketch sketch sketch

Read standalone post

2024/11/17 18:18 UTC
TLDRYesterday, I messed up by placing the barrel on the wrong side, but thanks to Fusion 360's joint system, I easily fixed it. This little blunder turned into a valuable learning moment, reminding me that mistakes help refine the process. Now, with everything sorted, I'm ready to tackle the next challenge with confidence! 😊
Show more Show less

Fixing Yesterday's Rookie Mistake

Remember the little mishap I mentioned yesterday, where the barrel ended up on the opposite side of the stem position? 😅 Well, I’m happy to report that it’s all fixed now! 🎉

Thanks to Fusion 360’s joint system, repositioning the train of wheels and moving the barrel to the correct side was straightforward. It’s one of those moments where I’m grateful for modern tools making the process so much smoother than it could have been. 😊

This fix was a great reminder that every mistake—no matter how rookie—is an opportunity to learn and refine the process. With everything now back in place, I can confidently move forward with the plates and winding mechanism. Onward to the next challenge!

😊


sketch

Read standalone post

2024/11/13 13:07 UTC
TLDRMade a classic error while working on the plates for a winding mechanism—put the barrel on the wrong side! 😅 Thankfully, Fusion 360's joint system made it easy to fix. Each mistake is a learning opportunity, right? 😊
Show more Show less

Rookie Mistake on the Plates

I started working on the plates today to prepare for the winding mechanism, but... I made a rookie mistake! 😅 The barrel ended up on the opposite side of the stem position—oops! 😂

Thankfully, Fusion 360’s joint system saved the day. All I need to do is reposition the train and move the barrel to the correct side. That’s inexperience for you, folks! Hehe, every mistake is just another step in the learning process.

😊


sketch

Read standalone post

2024/11/13 13:07 UTC
TLDRHey, the latest on the watchmaking front: I successfully placed the jewel on the fourth wheel today. It was a simple task but super satisfying—sometimes those easy wins are the best! If you’re into horology or just love a good progress update, check it out. 😊
Show more Show less

Progress Update: Jewel Placement on fourth wheel

Today, I made a few adjustments to the watch’s tree structure and set the jewel in place for the fourth wheel. It was a straightforward, productive day—sometimes, the simplest tasks bring the most satisfaction!

🤩


sketch

Read standalone post

2024/11/12 13:07 UTC
TLDRThe mainspring barrel was too big, so I had to rearrange the wheels to ensure a proper fit. Good news: I can use the same jewels for multiple wheels, simplifying the process. Today, I added jewels to the third wheel and will continue with the fourth tomorrow, while also planning the bridges and plates. 😊
Show more Show less

Progress Update: Adjustments and Jewel Placement

Today, I discovered that my mainspring barrel was a bit oversized, actually protruding through the case. 🔍 This meant I needed to rearrange the positioning of the wheels to make everything fit properly—fingers crossed, they won’t end up too tight!

On a positive note, it looks like I’ll be able to use the same type of jewels for the center, third, and fourth wheels, which simplifies things nicely. 😊

Today, I added jewels to the third wheel, and tomorrow, I’ll continue with the fourth. I’ll also begin planning the bridges and plates, bringing the design another step closer to completion.

🤩


sketch sketch

Read standalone post

NOSTR:

npub1nvhq9vgkpahlugwcf3jsnpaq5lj3w3rk6lknnvf9r8h8ft2ja2asaqcn2a
Copyright 2025 The bitcoin watchmaker