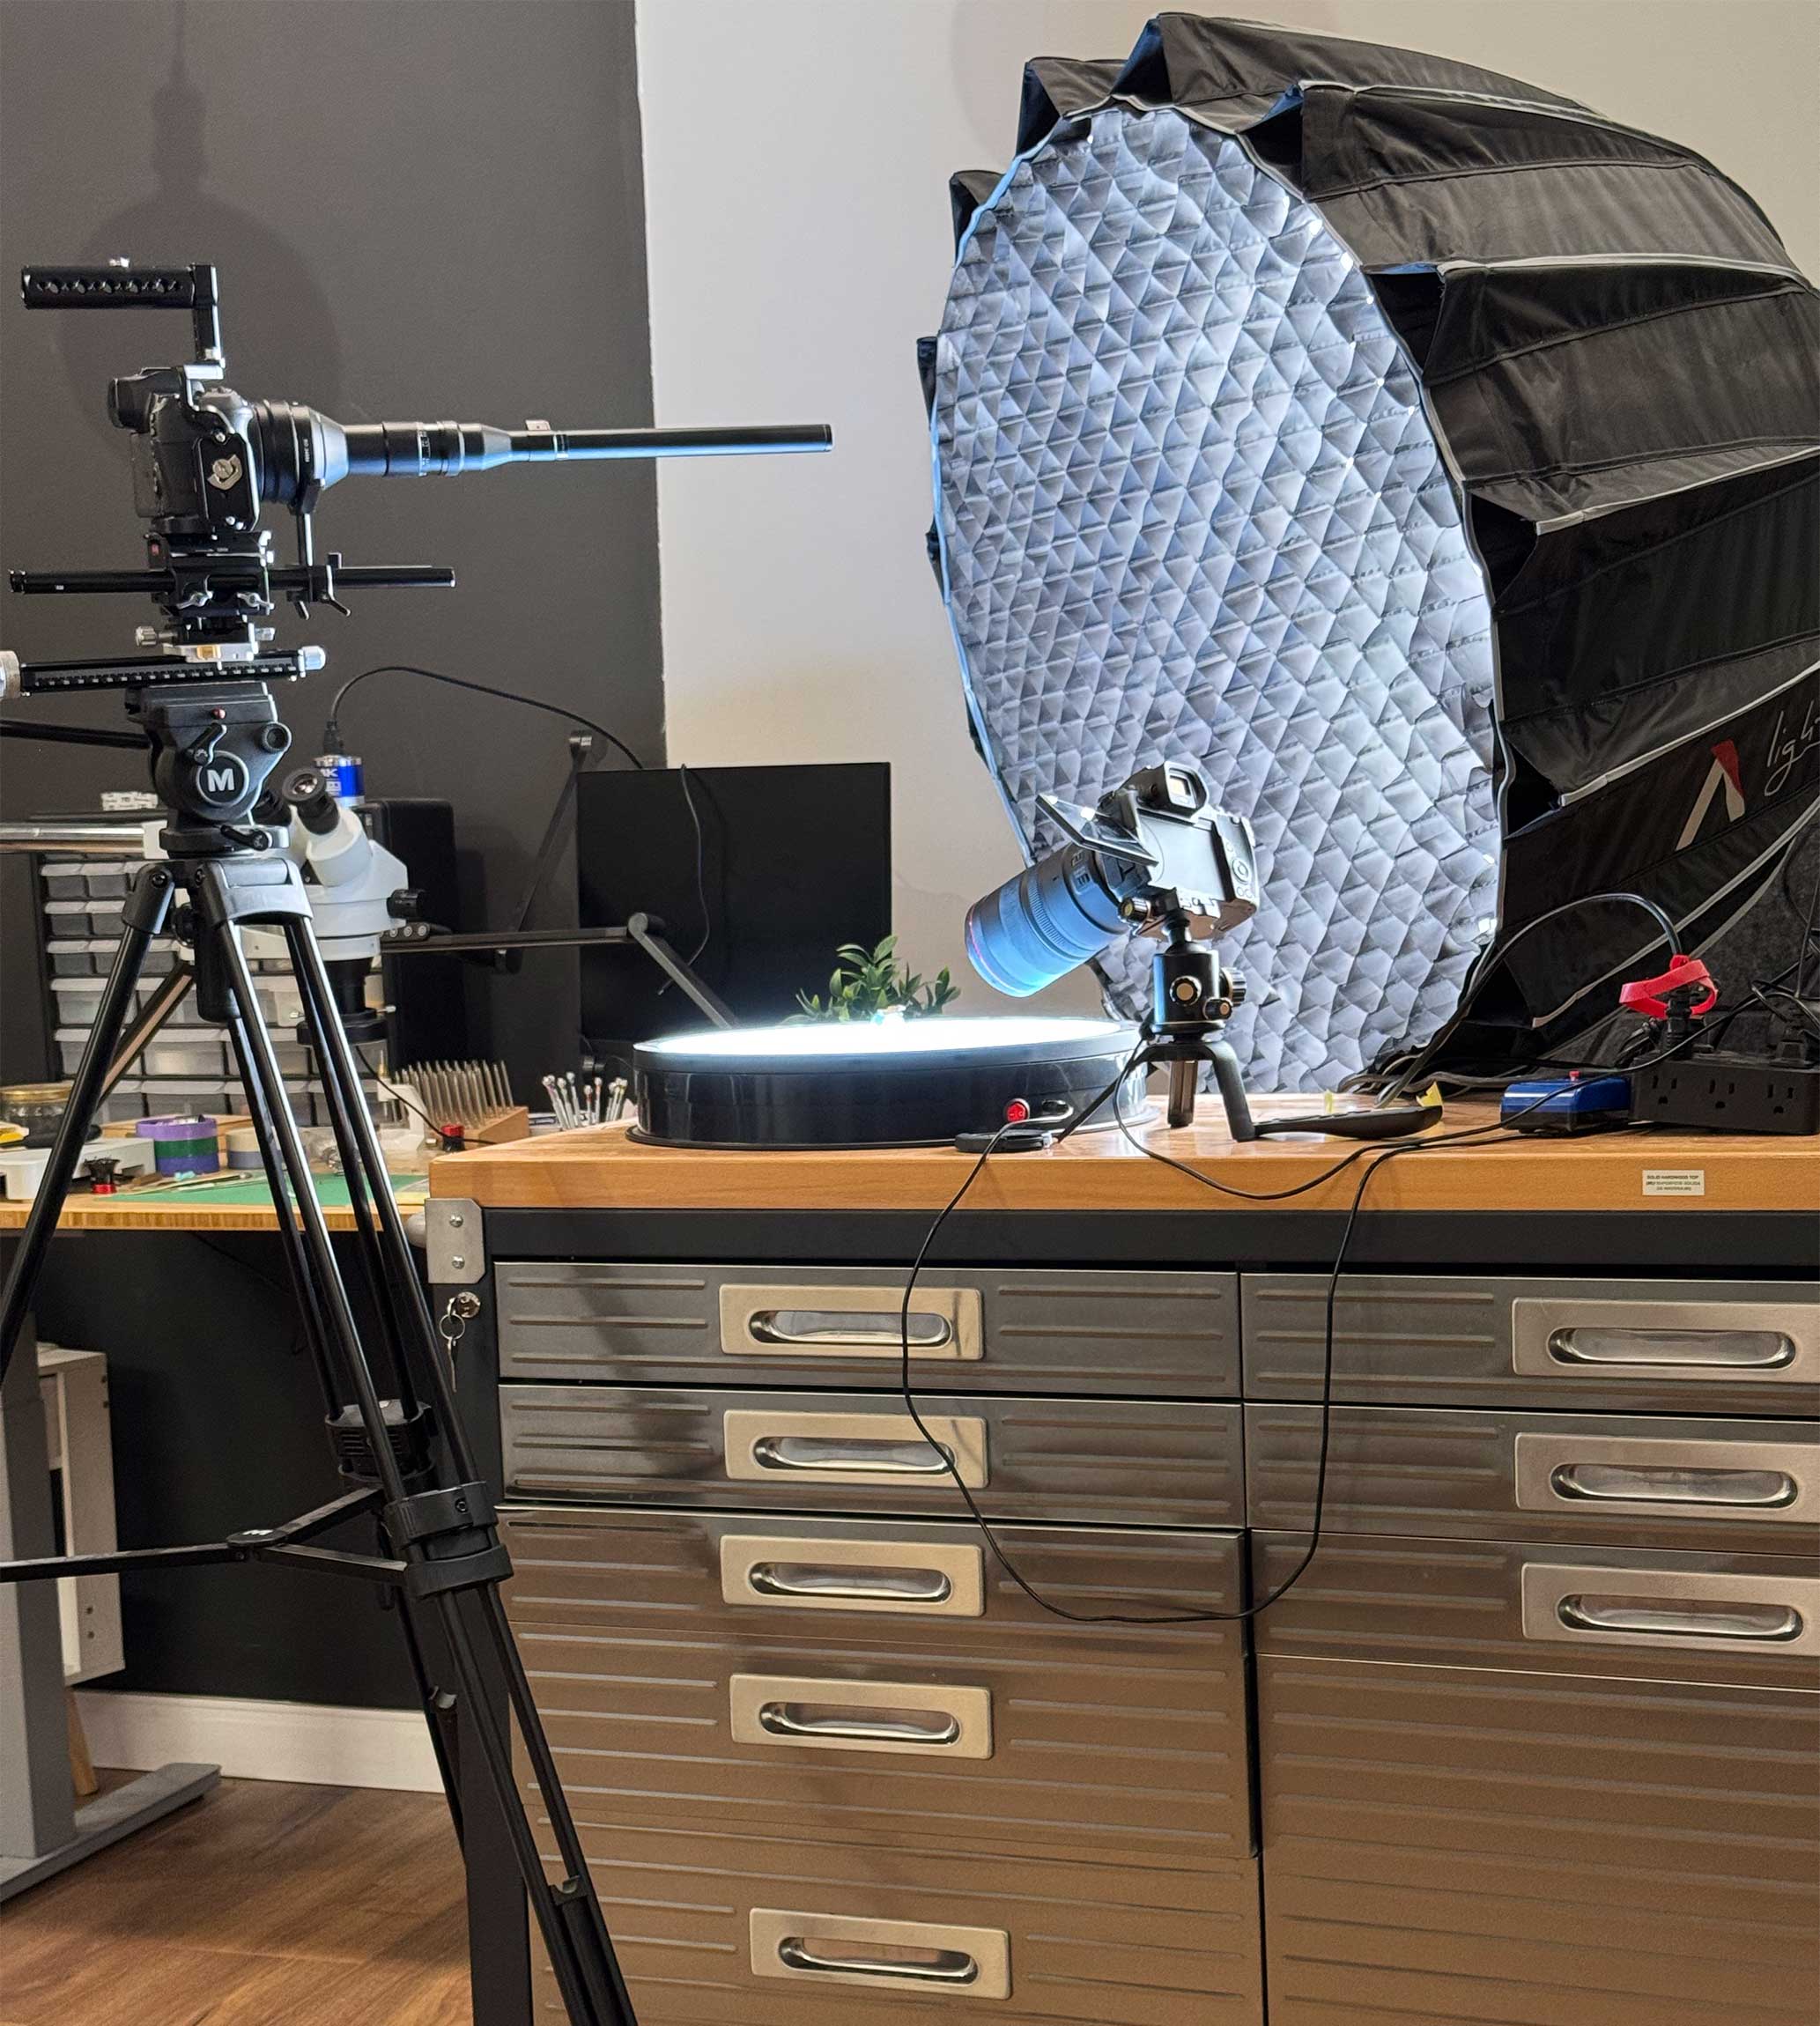
Winner so far: the Canon 100mm.
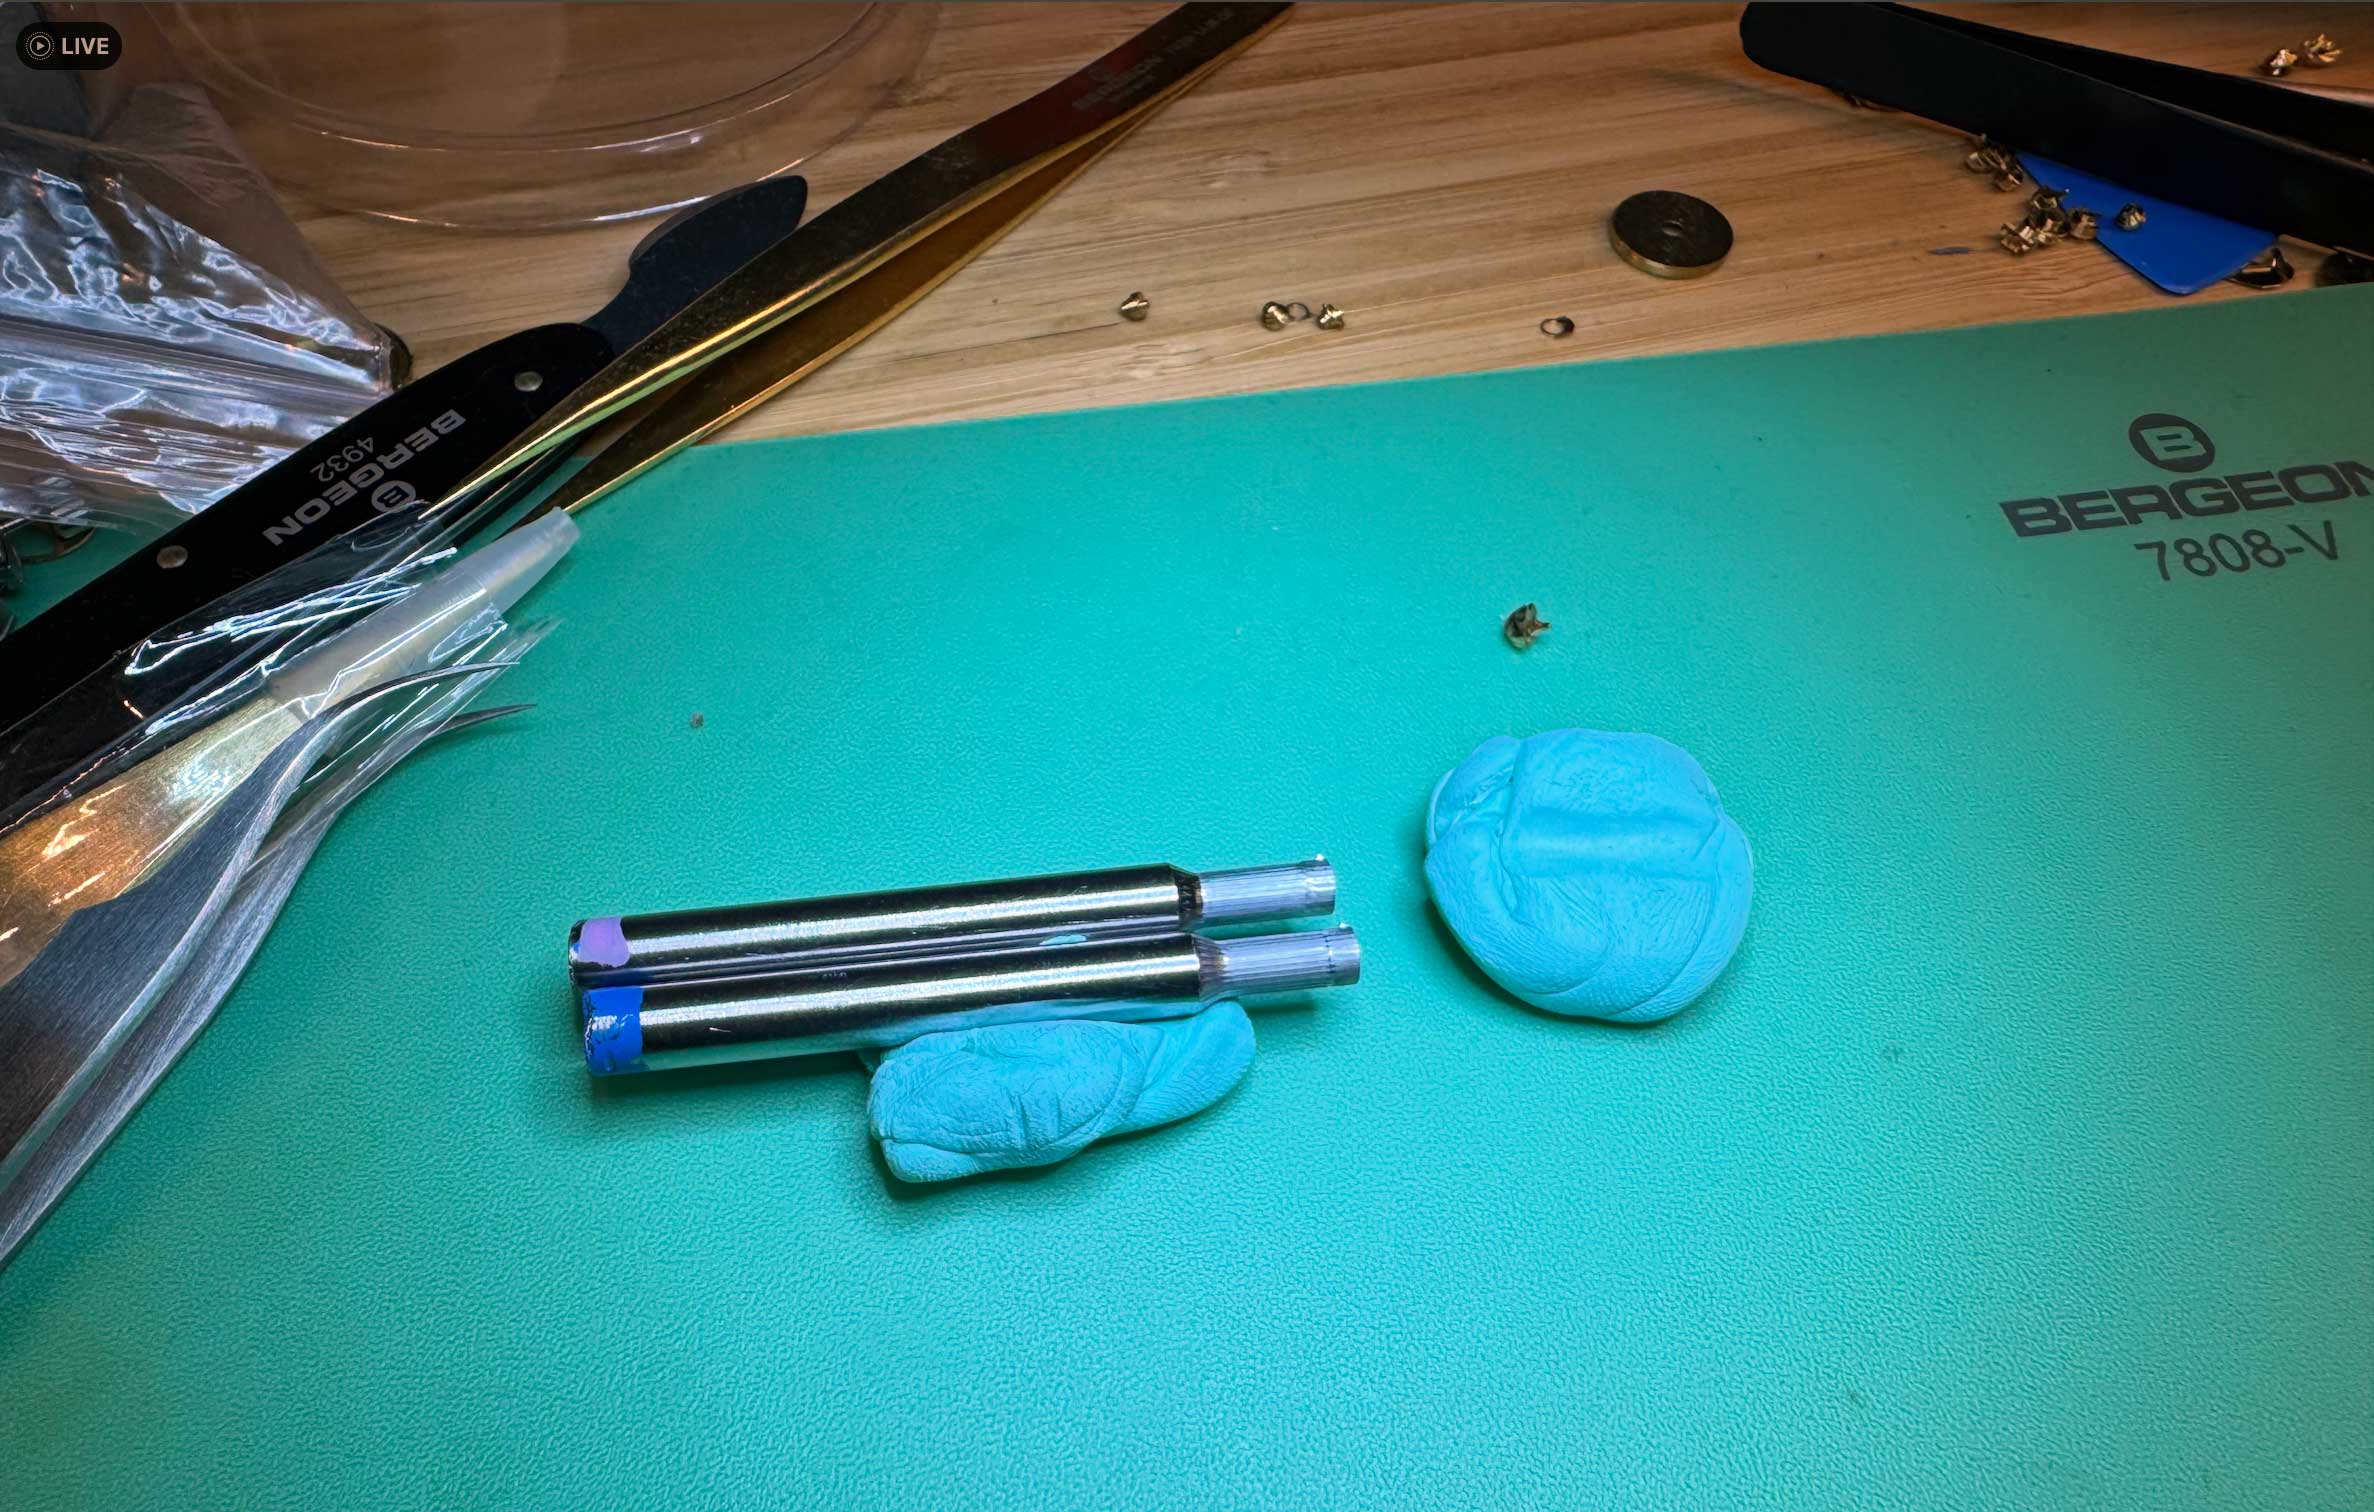
I started with the Canon lenses I already had for closeups. Good baseline. Easy to frame. Easy enough to light.
Then I tried the odd one: the Venus Optics Laowa 24mm.
It focuses very close. That sounded useful. In practice, I could not get it to work.
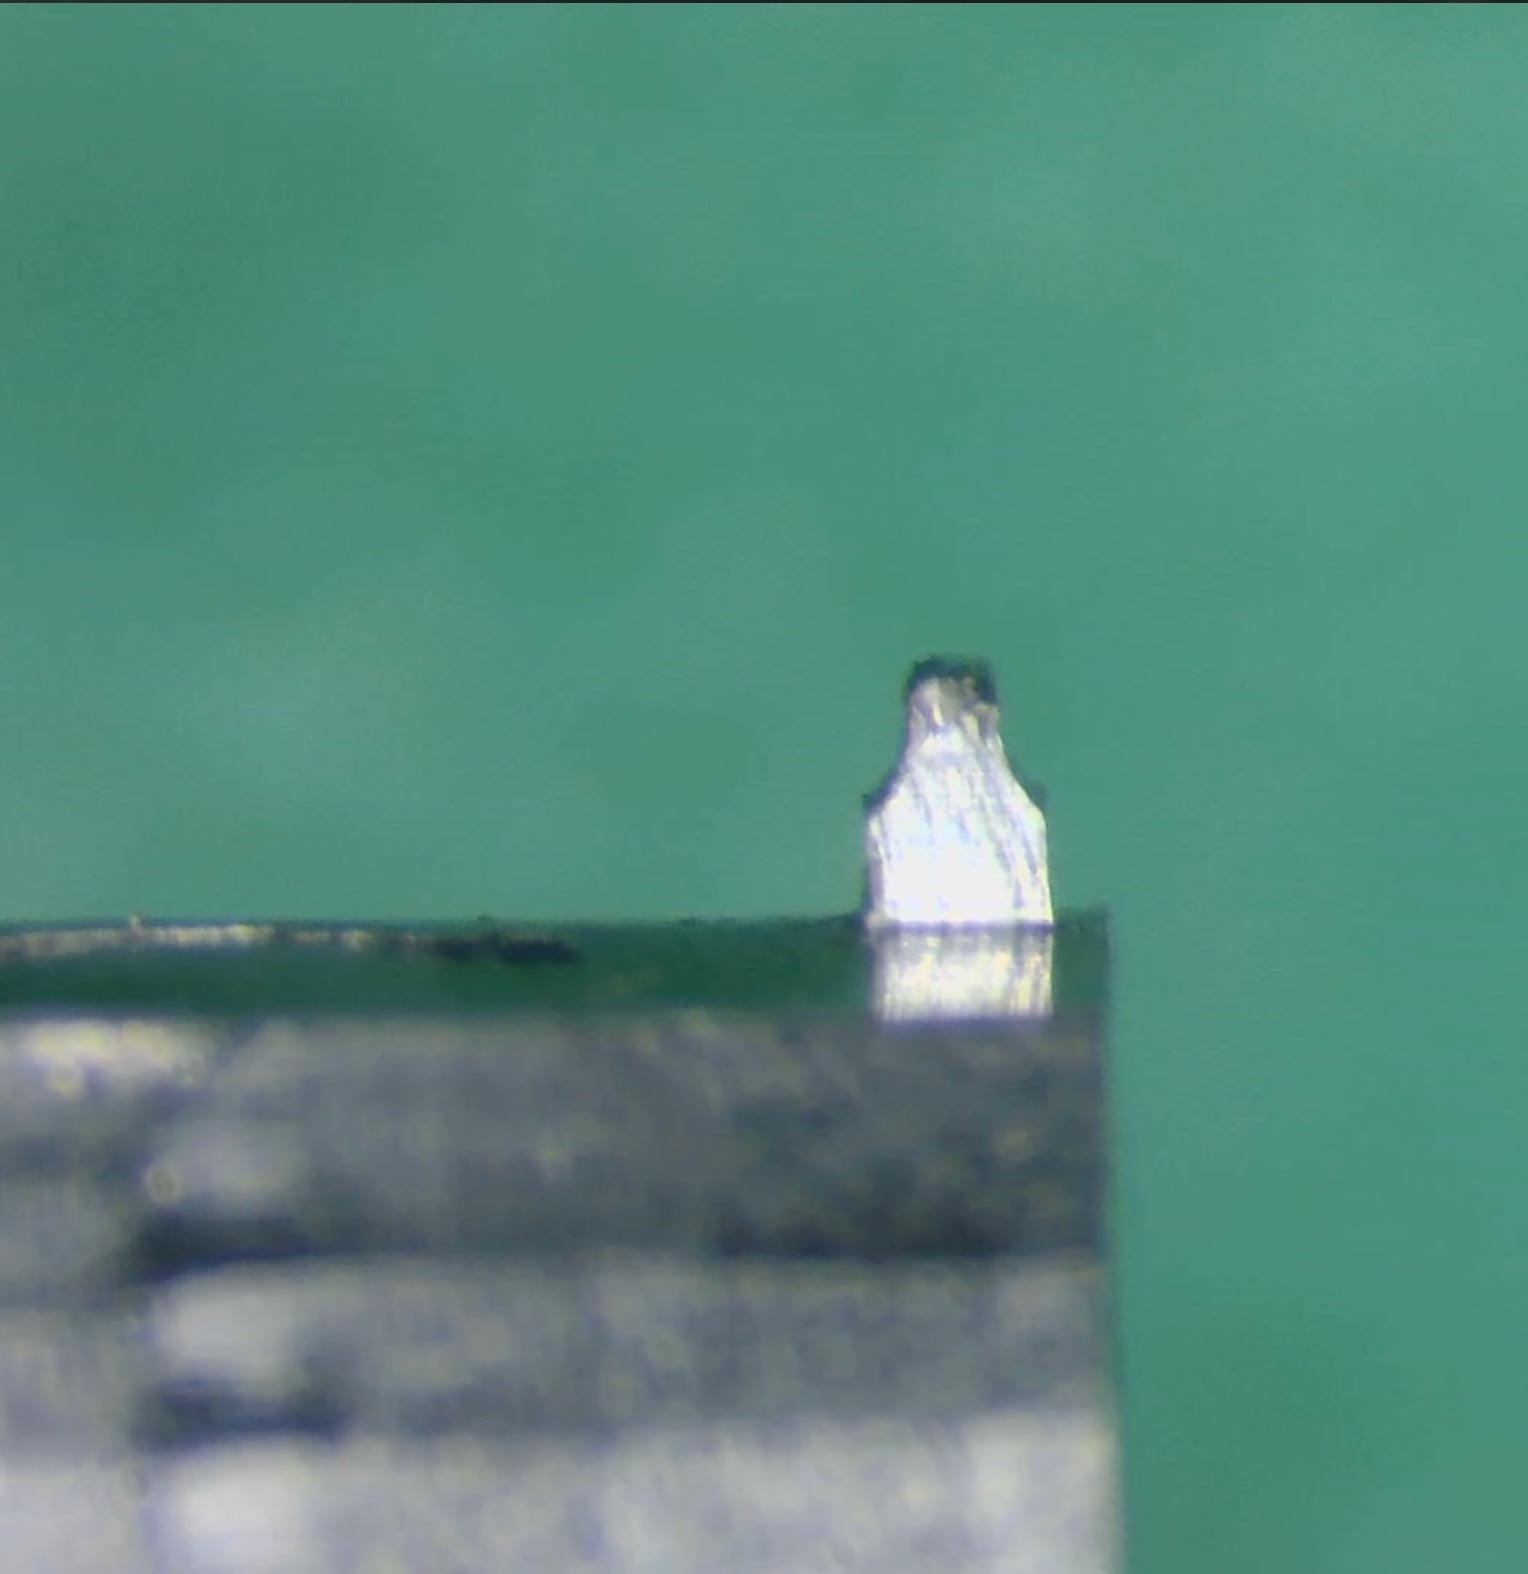
Yes, it gets physically close to the part. But that made everything harder at once. Framing shifted. Light had nowhere to go. Depth of field was basically gone.
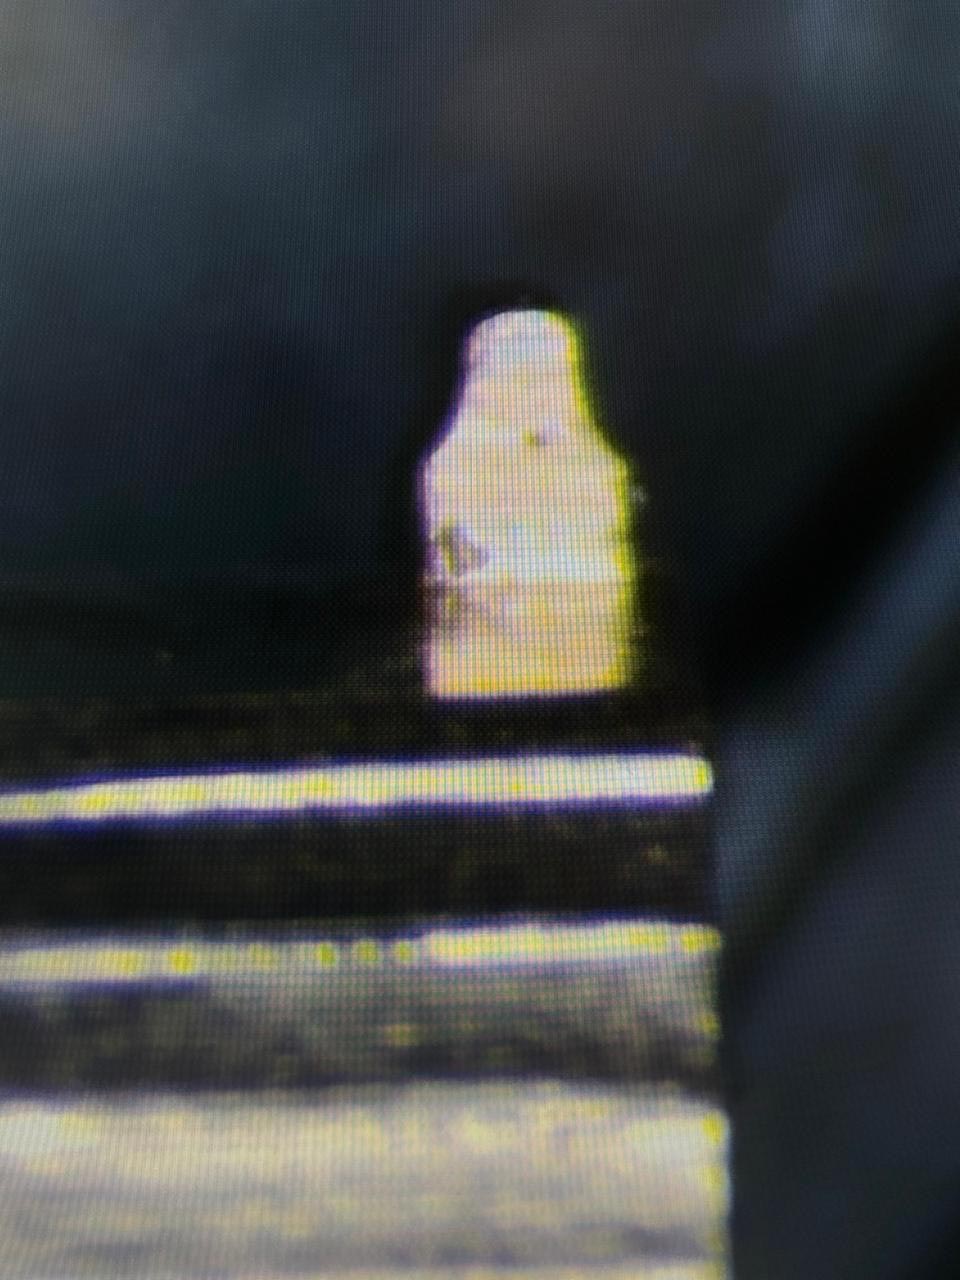
On small reflective parts, that fell apart fast.
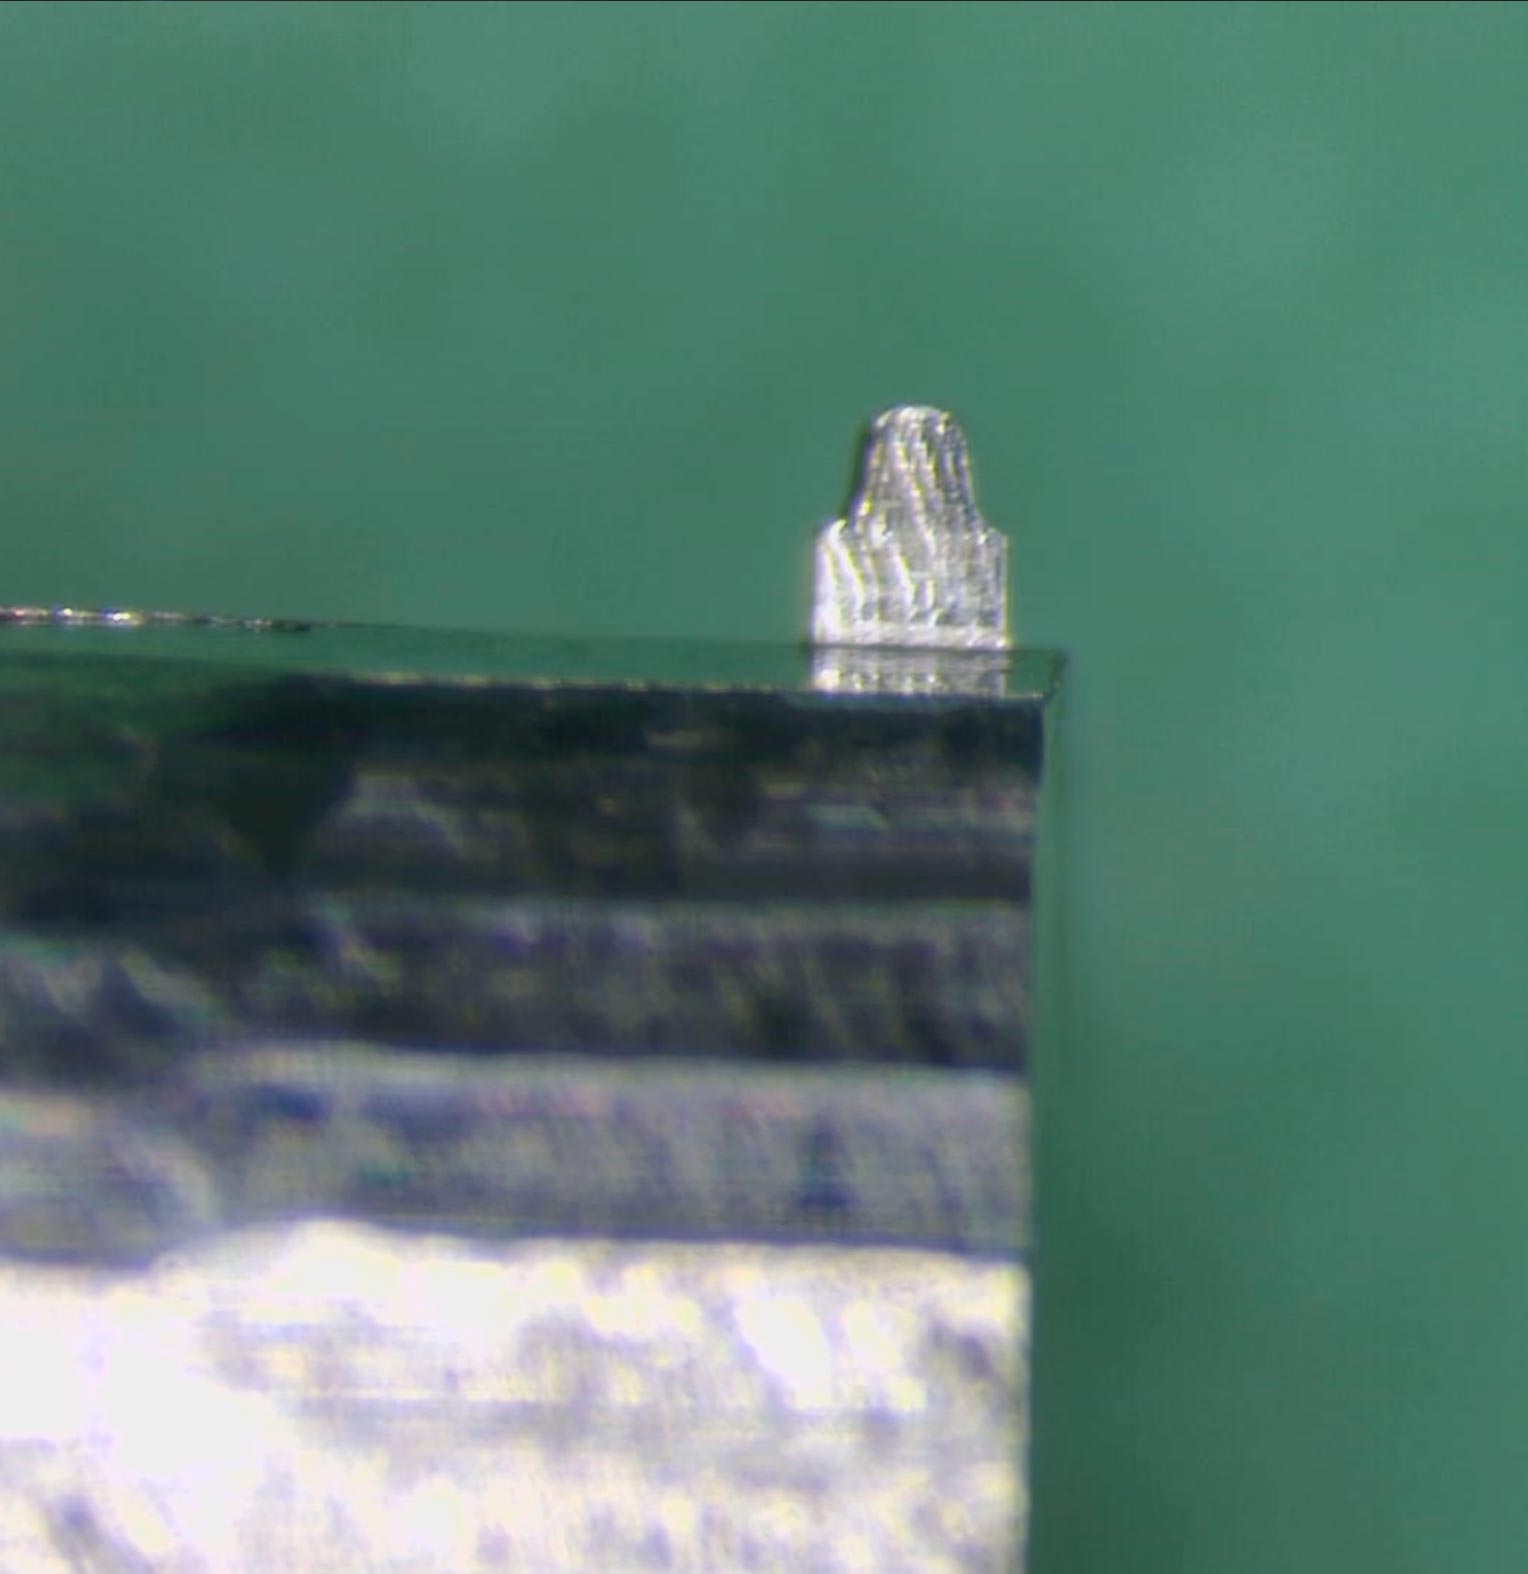
The useful part of the test was not image quality. It was seeing what each setup demanded.
The Canon 100mm felt forgiving. The Laowa wanted everything exact, and I was not there yet.
I definitely underestimated this a bit. Tiny shiny parts do not give you much margin 😅
What changed
The goal now is a tighter test:
- Same part
- Same light
- Same camera position
That should make the comparison real. Process first.
For now, the Canon 100mm is the closeup lens. The Laowa might become a special tool later. Right now, it is just making the job harder.